How to replace bathroom sealant
If you’re getting your bathroom ready for the festive season and want it to look its best, then there are lots of quick and easy ways to freshen it up. One of these is replacing old and worn sealant, which can start to look a bit grubby if it’s been there for a number of years and can also be prone to mould, which no one wants in their bathroom.
Whether you’re renovating, have just moved house or simply want to brighten up your bathroom and keep it looking pristine, replacing sealant is something you can easily do.
Read our step-by-step guide below to find out what you need to do.

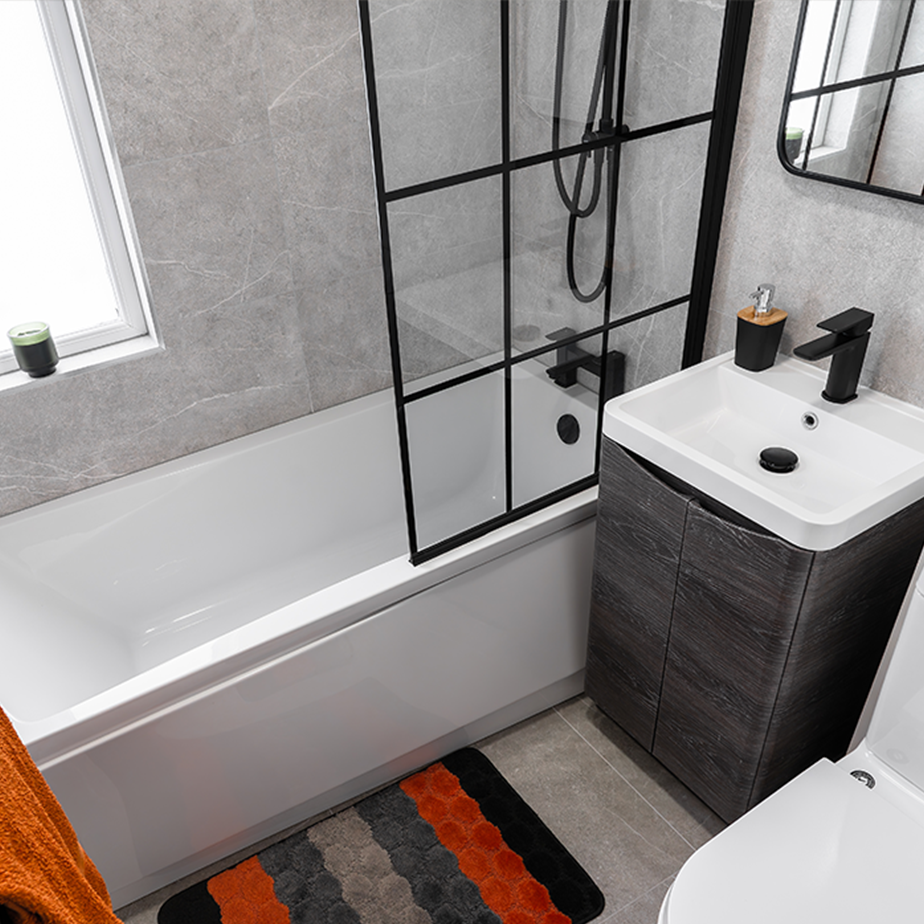
Keep your bathroom looking fresh by replacing old sealant around your bath and shower.
What is bathroom sealant?
First of all, just to clarify, sealant is a sanitary silicone which is used to create a watertight seal around baths and showers to prevent water damage in high condensation and wet areas. In addition to this, sealant offers protection from bacteria and fungus, as well as preventing mildew and mould from forming. However, it does eventually need replacing, if you want to keep it looking clean and performing at its best.
NB Always make sure you remove the existing sealant before replacing it with new sealant, otherwise it will look messy and any bacteria or mould already there will simply get trapped.
Tools required for removing and replacing bathroom sealant:
- Sealant-remover and/or sealant-remover tool (e.g., a Stanley knife)
- Sealant
- Sealant-smoother/caulking tool
- Mould-remover
- Cartridge gun (optional, depending on the sealant-remover you use)
Step one
Take your bathroom sealant-remover and apply it to the existing sealant on your bathroom-ware, making sure to follow the specific instructions provided by the manufacturer.
NB Using sealant-remover gel is optional as you can remove the old sealant by skipping on to step two, as you wish. A sealant-remover might make the process easier, but it depends on how long the existing sealant has been in place and it may also create more of a mess.
Step two
Using the sealant-remover tool, carefully pierce the existing sealant and scrape or pull it away.
NB If using a Stanley knife, take your time and be careful not to scratch the bath, shower or tiles etc.
Step three
Once the sealant is removed, clean the area, especially if there is any evidence of mould. Leave the mould-remover on as per the manufacturer's instructions.
Step four
Wash the mould-remover off as guided by the manufacturer's instructions and let the area dry completely.
Step five
When the surface is dry you can then apply the new sealant, which can be done using a cartridge gun, as required. Move from one end of the bath or shower to the other, maintaining a steady pressure and pace.

Sealant will keep your shower watertight and protect it from mould.
Step six
Use the sealant-smoother tool to smooth down the new sealant and then leave it to dry. Using your finger is another good way to do this, as long as it’s wet, otherwise the sealant will stick to your skin and pull away.
Shop sealant at Bathshack
If you need bathroom sealant, then you can get this, along with adhesives and various other bathroom materials, at Bathshack. You can also match your sealant to your bathroom décor, as we supply clear, black, white, beige and grey varieties for your convenience.
Meanwhile, if you’re updating your shower enclosure or bath, then we have a full range of styles and designs available for great-value prices, with something to suit every taste.
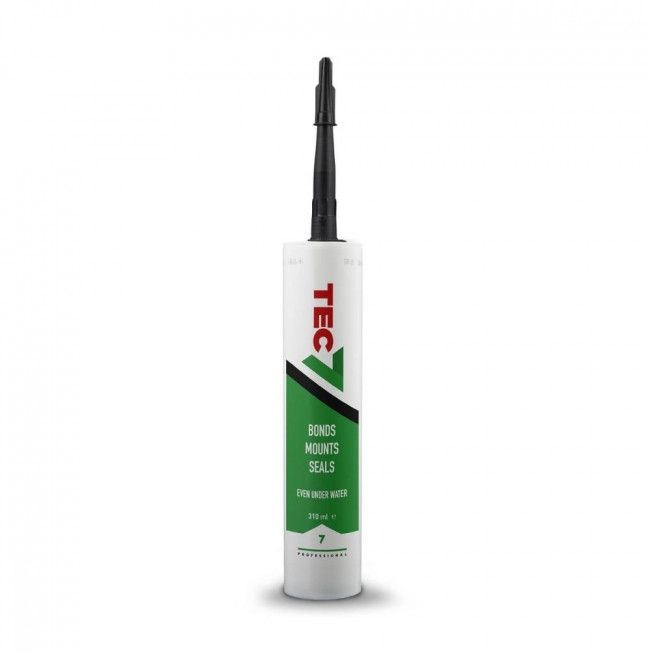
You can match your sealant to your bathroom, with different shades available.
To purchase sealant or other bathroom tools and accessories, visit our website at bathshack.com. Alternatively, if you have any questions, just email our team at info@bathshack.com, call us on (028) 9077 0188 or use our online chat.
