How to: Replace a Radiator
There may come a time when your old radiator has seen its day and needs replacing. This is especially true if you live in an older house, as old radiators can become inefficient from blockages, corrosion, leaks, and cracks. An inefficient radiator distributes heat poorly, increases your heating bills, and can be a safety risk.
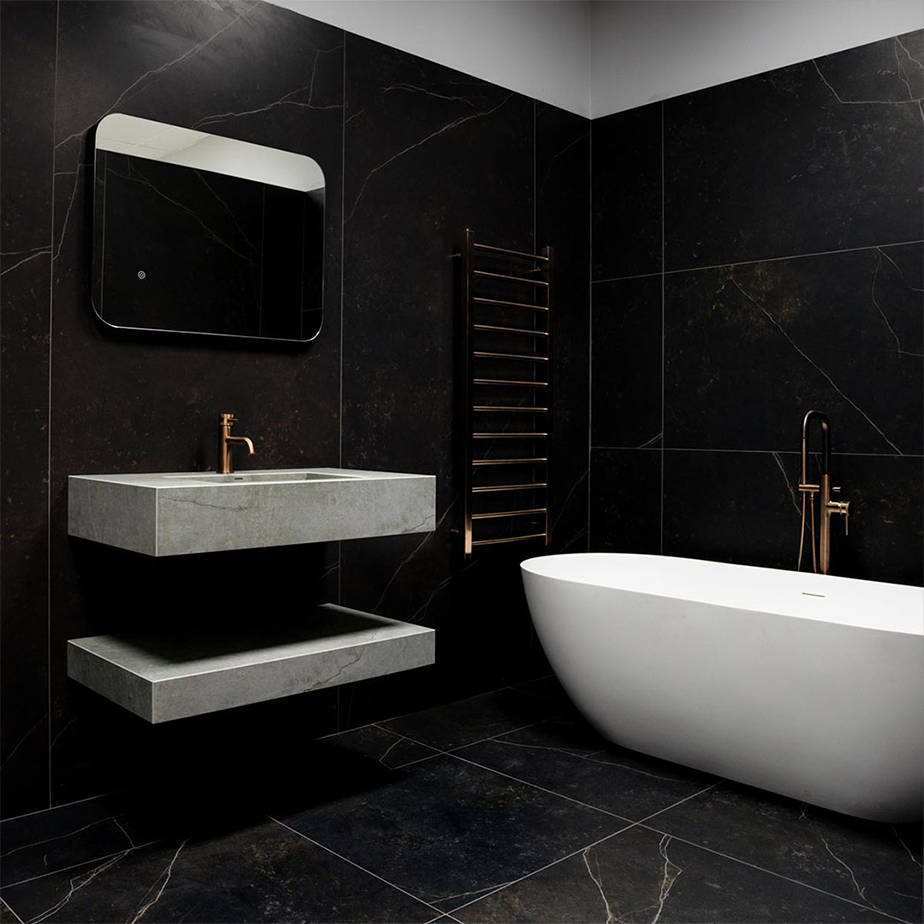
As well as providing better energy efficiency and heating, a new radiator can also enhance the style of your home. At Bathshack, our radiators come in a wide range of stylish designs for traditional and modern bathrooms, including vertical and designer options for those who prefer the unconventional.
Want to replace your radiator yourself but not sure where to start? This how-to guide will tell you all you need to know! However, if you are not 100% confident about undertaking this yourself, we highly recommend hiring a professional plumber.
How do I know if my radiator needs replacing?
You should consider changing your radiator if:
- • It's not getting hot anymore
- • It makes too much noise
- • You can see rust
- • It's inefficient
Is it easy to change a radiator myself?
Changing a radiator is a moderate level of difficulty. While it's more complicated than assembling flat-pack furniture, it's not something that necessarily requires the help of a professional.
Making sure you have the tools beforehand will make things much easier. Here is a list of everything you might need:
- • Adjustable pipe wrench
- • Adjustable spanner
- • Anti-corrosion fluid
- • Bucket(s)
- • Old towels
- • Drill and masonry drill bit set
- • Pipe cutter
- • PTFE tape
- • Screwdriver(s)
- • Spirit level
- • Tape measure
Radiators are heavy, so we also recommend getting someone to help you remove the old one and fix the new one to the wall. This will help prevent strain and injury while providing a second pair of eyes to spot any issues. Having company will also make the job less tedious! Remember, if you have any doubts at all throughout the process, you should call a plumber.
When you DO need a professionalThe measurement for the size of a radiator is called its pipe centres. If the pipe centres of your new and old radiators are the same, the new one will fit easily. However, if your new radiator is a different size from your old one, you may need to replace or adjust the pipes. This is a more technical job, so you will need a professional to do this.
Now that we’ve covered tips and tools to help get you started, let’s get down to the steps!
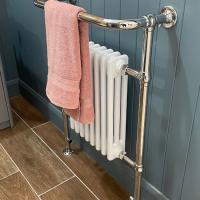
Step 1: Turn off the heating
Turn off your central heating and allow the old radiator to cool completely.
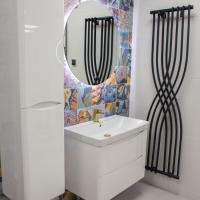
Step 2: Turn off the water supply
- Look for the valves at either end of the radiator. At one end is the manual control valve. This switches the radiator on and off and/or changes the temperature. Turn this off completely.
- The lockshield valve is at the other end. This controls the flow of water through the unit, so you will need to shut this off to stop water coming into the radiator.
- Remove the protective cap from the lockshield valve if it has one. Look for the cap nut underneath the radiator
- Use an adjustable wrench to tighten the cap nut by turning it clockwise. Make sure you count the number of turns, as you'll need to do the same number of turns to open the valve again when you’re done.
Step 3: Drain the radiator
- Put a bucket and some old towels down to protect the floor.
- Go back to the manual control valve. Loosen the large nut that connects the pipework to the radiator bleed valve, using the adjustable spanner to keep the control valve in place. Water will start to drain.
- Unscrew the air bleed valve at the top of the radiator using a radiator bleed key. This lets air into the system so the water will begin to drain.
- Bear in mind that water might come out near the top when you open the bleed valve with the radiator key. Hold a towel to this to prevent a mess, or water from shooting you in the face!
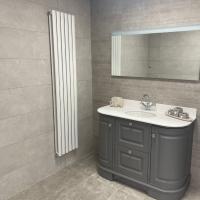
Step 4: Remove the radiator from the wall
- Make sure the nut at the control valve end is fully loosened.
- Unscrew the vertical nut that connects the lockshield valve to the body of the radiator.
- Get someone to hold one end of the radiator while you hold the other. Gently lift the radiator from the pipework and brackets on the wall. You may need to move the pipes slightly to free the valves – just make sure you don’t bend them.
- Tilt the radiator over the bucket to allow the water to drain out of the bottom. Place the radiator on towels to catch any drips and avoid puddles forming on the floor.
Step 5: Fit your new radiator
- If you want new radiator brackets, remove the old ones from the wall and screw in the new brackets using the appropriate bolts.
- Wrap PTFE thread seal tape around the radiator's adaptor screw threads. This acts as a sealant when you connect the valves.
- Before mounting the new radiator, connect the radiator valves at either end to the pipework. Open the valves where they connect to the pipes.
- Get someone to help you lift the radiator onto the wall brackets. Tighten up the nuts that connect to the valves.
- The radiator now needs to fill with water. Open the bleed valve at the top with the radiator key and ensure the valves at the bottom are open.
- Open the lockshield valve by turning it the same number of times it took to open it.
- Make sure all the joints are airtight but not overly tightened.
- Now you're free to turn on your central heating! You may need to bleed your heating system, as air may have gotten into the pipework while changing your radiator.
Now you know how to change a radiator yourself, allowing you to cut labour costs! However, it's always a good idea to seek professional help if you're unsure about anything. In the long run, it's better to pay a bit more than to damage your pipes or wall.
To shop our range of radiators, click here. With a wide range of designs, colours, sizes and heat outputs available, you are sure to find the perfect one for any room of your home – not just the bathroom.
