How to Put Up a Bathroom Mirror
Getting the right bathroom mirror is important for every bathroom. As well as being essential for bathroom tasks, it also enhances your décor and reflects the light to make the bathroom look bigger and brighter.
Once you have chosen the right mirror, all that’s left to do is hang it up! If you are simply replacing an old mirror, this is a pretty straightforward task. But if you are hanging a mirror in a bathroom, you will have to drill holes in the wall. This how-to guide will show you how to put up a new bathroom mirror quickly and easily. Please note that this guide is for standard mirrors only – for LED and Bluetooth mirrors, we recommend hiring a professional electrician.
What You’ll Need
Before you start, get all your tools ready to go. Most of the below can be found in any hardware store:
- Small step or step ladder if you need it
- A hammer drill for drilling into masonry.
- A tile drill bit if drilling into tiles
- Masking tape
- Wall plugs, if there are none in the fitting kit
- Hammer and screwdriver
- Spirit level
- Tape measure and pencil
- Safety goggles
- Dust sheet
Once you have all of these to hand, it’s time to get going!
Step 1: Choose the best place for your mirror
Choose the safest and most practical place for your mirror – this is usually above your basin or vanity. If it’s a mains-operated, LED or Bluetooth mirror, it should be positioned where water won’t splash onto cables or sockets. You should also check that there are no pipes or electrical cables behind the wall where you are hanging the mirror. To check this, buy a multi-purpose digital detector for this or ask a builder to help you.
Step 2: Prepare the mirror
Once you’ve decided where to put the mirror, lay out the contents of the box and check that all the parts are included. In the unlikely event of missing parts, please Contact Us.
Step 3: Mark & measure the wall
If using a step or step ladder, secure it underneath the area where the mirror is to go. Next, get someone to hold the mirror in position against the wall while you measure and mark the positions of all the fixing points using a pencil. Use the spirit level to ensure the mirror is straight.
Step 4: Drill the holes
Put your safety goggles on and lay the dust sheet in the sink beneath (or on the floor if the mirror is not going above the sink). If drilling into tiles, place masking tape where the holes are to go to prevent cracking.
Note the length of the wall plugs and drill holes to the same length. Gently hammer the wall plugs into the drilled holes and ensure they’re flush with the surface.
Step 5: Fix the mirror
Fit any plastic washers to the back of the mirror, line these up to the drilled holes, then screw the mirror to the wall. Get someone to help you with this if necessary. If the mirror came with finishing caps, fix these to the front.
Once you’ve followed these steps, all you have to do is clean up and enjoy your handiwork!
Bathshack Mirrors
Here is a breakdown of the mirrors available at Bathshack.
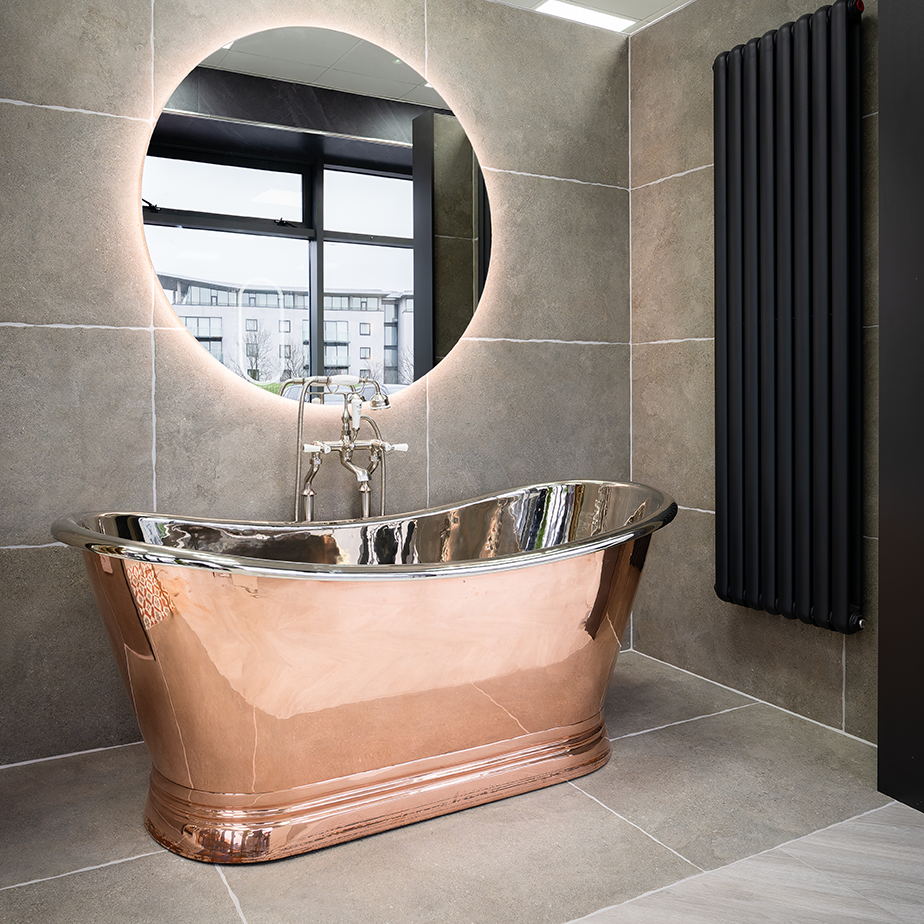
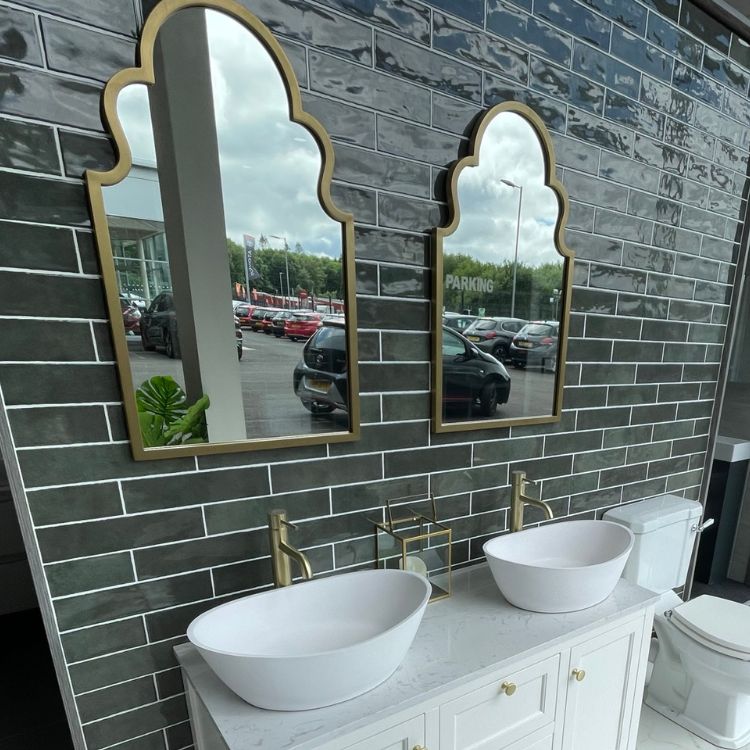
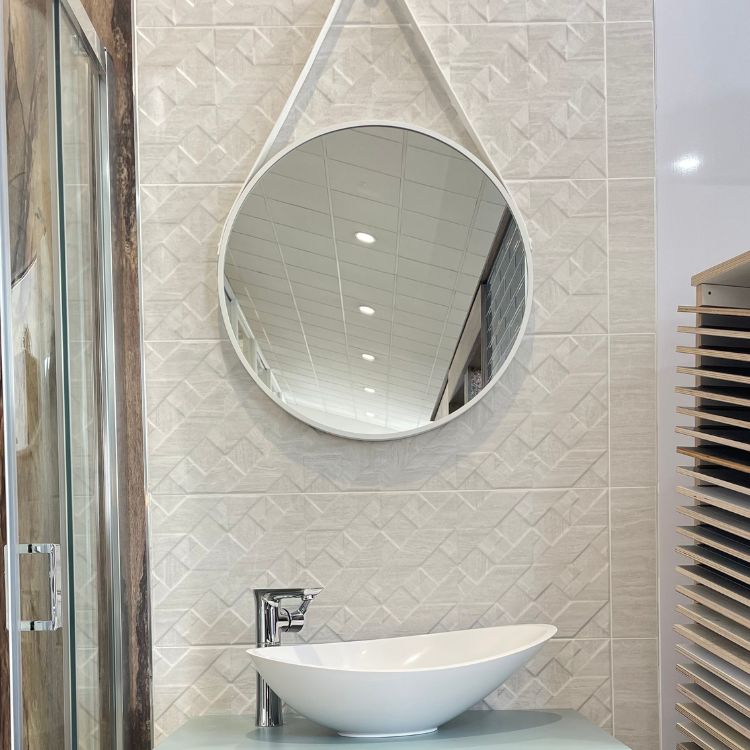
Our plain mirrors are elegant, stylish, and affordable. They come in a variety of shapes, sizes, and designs to complement traditional and modern bathrooms. For example, a black framed mirror will look great in a contemporary space, while a round mirror will look beautiful in a traditional bathroom. Alternatively, go for a frameless mirror for a minimalist look.
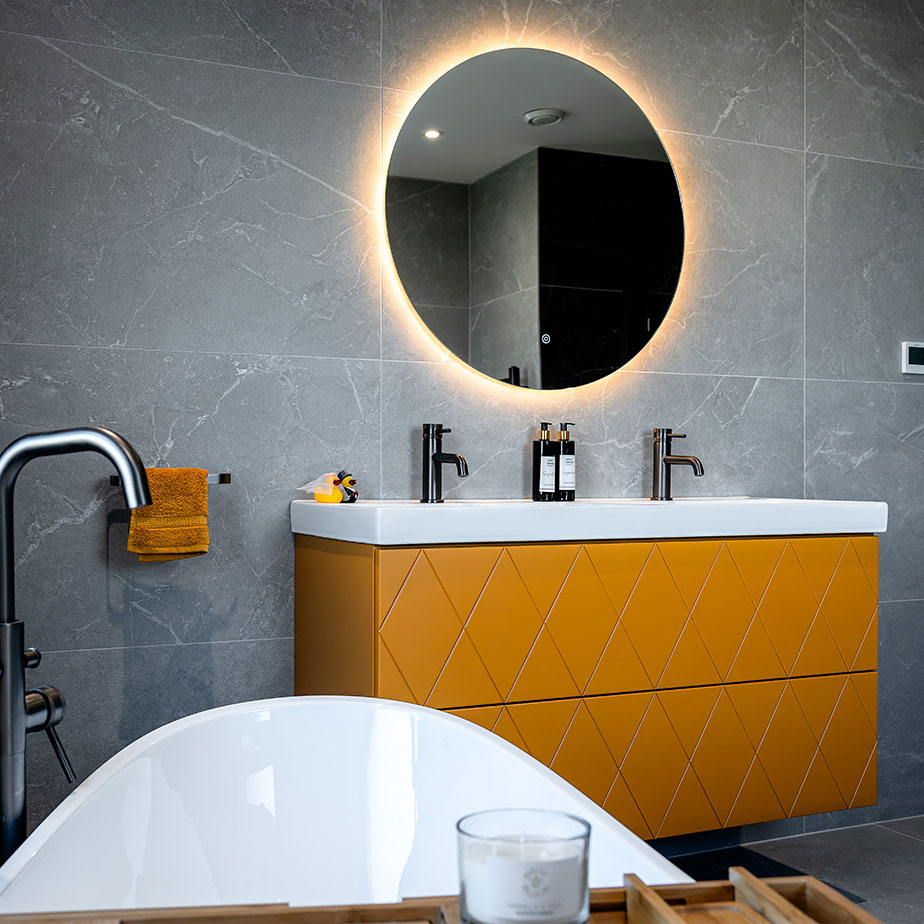
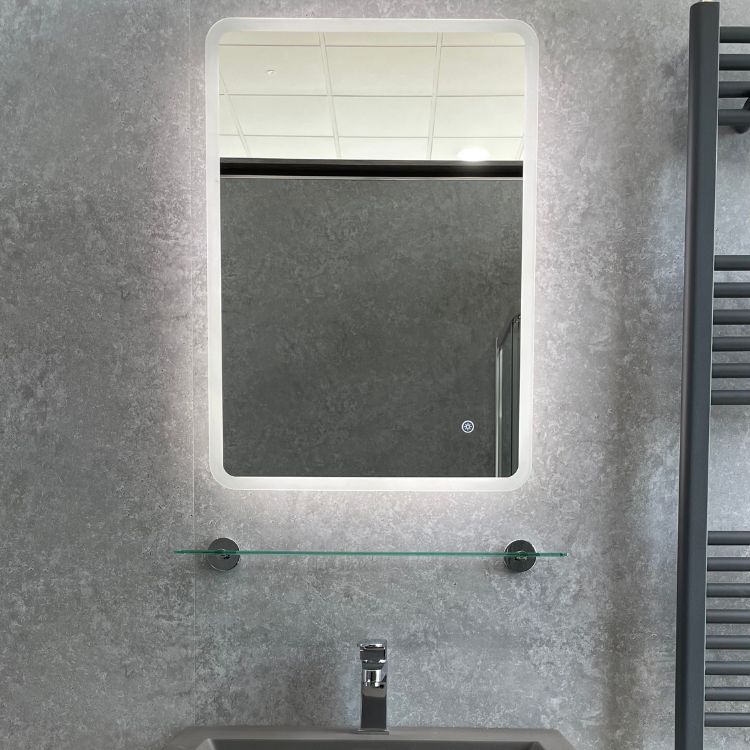
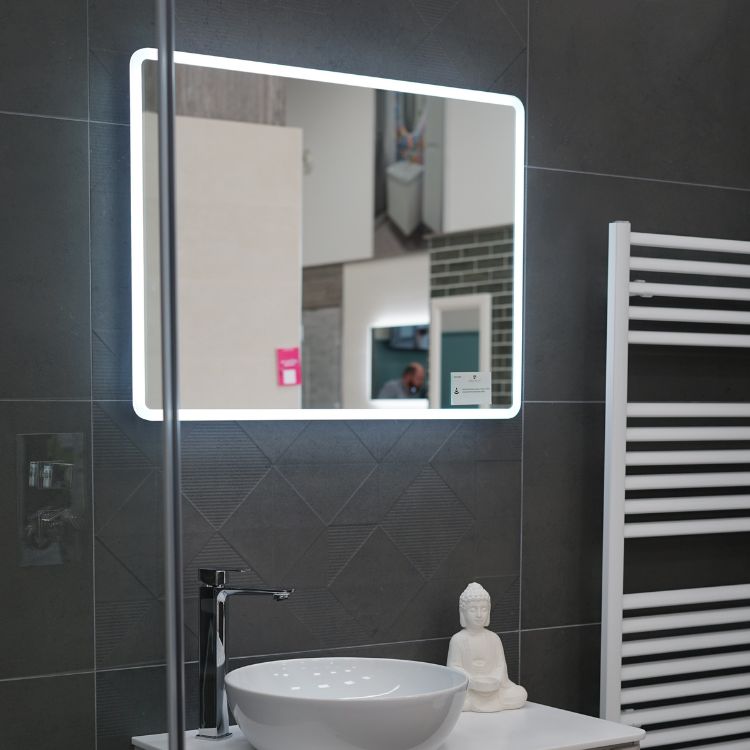
An LED Mirror is a stylish and practical addition to any bathroom. LEDs are the best source of task lighting, are more energy-efficient, and have a much longer lifespan than traditional bulbs.
Bluetooth mirrors are one of our top-selling products. They allow you to sync up your devices so they can stream your favourite music, podcasts, or radio from the mirror’s speakers. All our Bluetooth mirrors come with LED lighting, while some of them come with a charging socket for your electric toothbrush and shaver! What more could you need?
To find the perfect mirror for your bathroom, browse our full range online or visit one of our showrooms. For showroom opening times and locations, click here.
