How to fit a thermostatic shower: A step-by-step guide
If you’re a keen DIY-er and are adept at fitting bathroom-ware then you might be willing to take on the challenge of installing your own thermostatic shower – an increasingly popular style in many modern homes.
While we always recommend hiring a professional to install your bathroom products, if you’re confident within this area then we’ve included details below on how to go about fitting a thermostatic shower. It should be noted that this is quite a complex task, so if you’re in doubt, always get the experts in. If you’d like to find out more about the process, however, then read to the end of the blog for an overview.
Please note, this blog is a general guide only – for specific instructions on how to fit your thermostatic shower, please refer to the manufacturer’s instructions for your particular model.
Fitting a thermostatic shower can be tricky, so always consult a professional if in doubt.
Tools for fitting a thermostatic shower
- Thermostatic shower kit
- Spirit level
- Screwdriver
- Pipe cutter or hacksaw
- Adjustable wrench
- PTFE tape (plumber's tape)
- Drill and drill bits
- Towels or rags
- Silicone sealant
- Thermostatic shower kit
- Spirit level
- Screwdriver
- Pipe cutter or hacksaw
- Adjustable wrench
- PTFE tape (plumber's tape)
- Drill and drill bits
- Towels or rags
- Silicone sealant
Connect the showerhead and handset: Attach the showerhead and handset to their respective outlets on the thermostatic valve, using PTFE tape to create a tight seal before tightening the connections with an adjustable wrench.
Step one
Switch off the water supply: Before fitting your thermostatic shower it's important to turn off the water supply by locating the main water shut-off valve for your home.
Step two
Remove the old shower (if applicable) If you’re replacing an existing shower then you’ll need to remove this first, before fitting the new one, carefully disconnecting all of the existing pipework and fixtures.
Step three
Clean and prep the area: Always make sure the space is clean and free from dirt and debris before fitting your shower. At this stage you can also use your spirit level to mark out the positions for drilling holes for the pipework.
Step four
Install mounting brackets: Drill holes for the mounting brackets, always being mindful of the manufacturer's instructions, before securing the brackets to the wall with the appropriate screws.
Use a spirit level to check the positioning of everything before fitting.
Step five
Connect the pipework: Once the area is prepped you can measure and cut the pipes to fit between the shower valve and water supply lines before wrapping the threaded ends with PTFE tape to create a watertight seal. After this you can then connect the pipes to the appropriate ports on the thermostatic shower valve, ensuring that they’re tightened securely with an adjustable wrench.
Step six
Mount the thermostatic mixer valve: Slide the thermostatic valve onto the mounting brackets securely, using a spirit level to check that it’s suitable positioned.
Step seven
Connect the showerhead and handset: Attach the showerhead and handset to their respective outlets on the thermostatic valve, using PTFE tape to create a tight seal before tightening the connections with an adjustable wrench.
Step eight
Check for leaks: Turn the water supply back on and test the shower for leaks, tightening any connections as required.
Always check for leaks before using your newly fitted thermostatic shower.
Step nine
Apply silicone sealant: Once you’re satisfied there are no leaks, apply silicone sealant around the edges of the thermostatic valve and any gaps between the shower components and wall to ensure a watertight seal.
Step ten
Final checks: Once you’re happy with everything you can then test the shower's temperature control and waterflow, making any adjustments as necessary before cleaning the area and disposing of any rubbish. Your thermostatic shower is now installed and ready to use!
Thermostatic showers at Bathshack
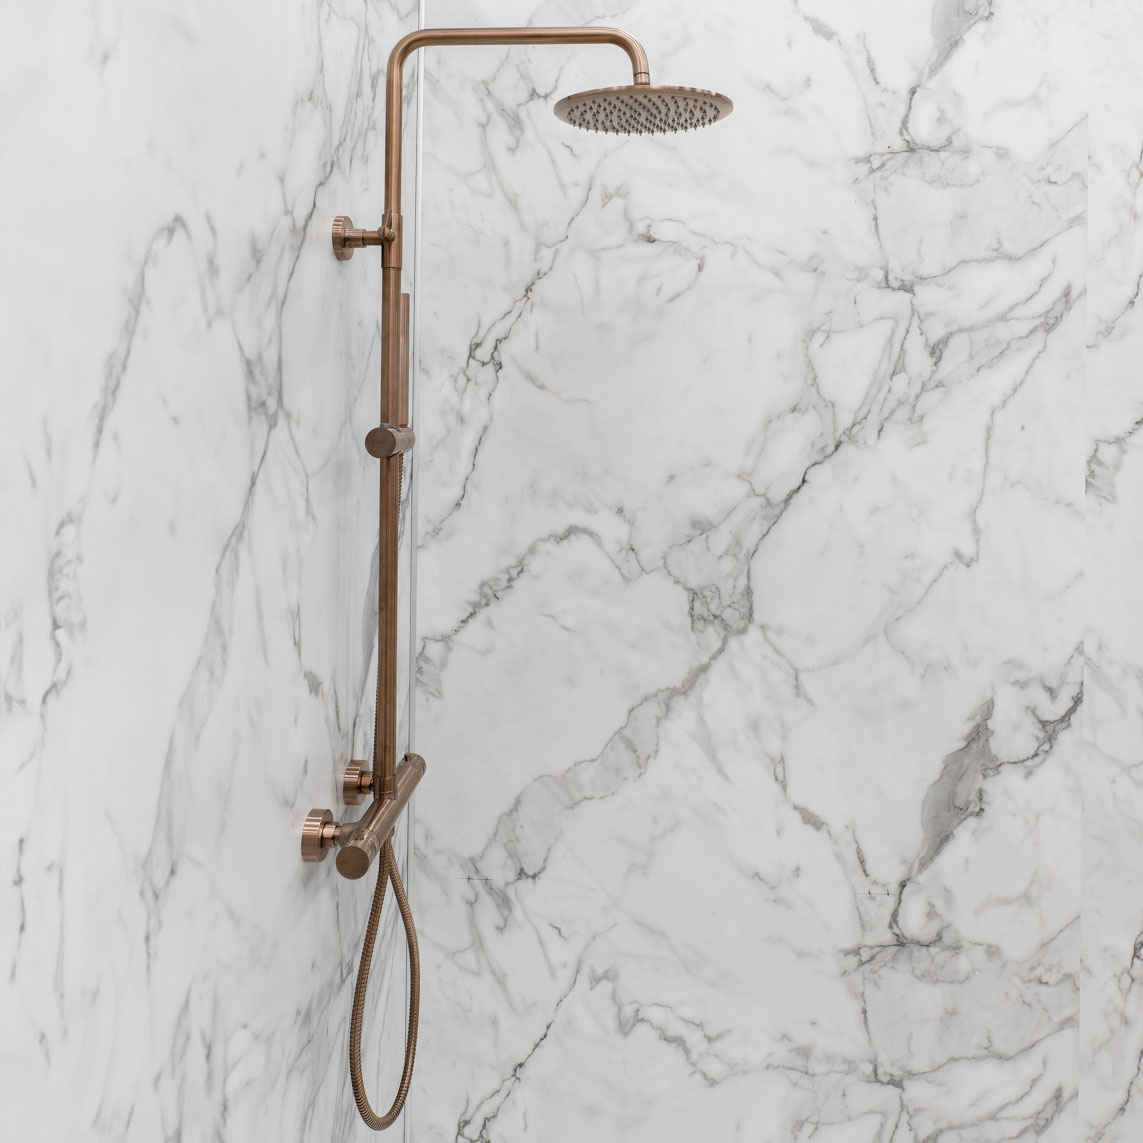
If you’re looking for a new thermostatic shower, then we have a range of options available at Bathshack, with something to suit every taste. Whether you like the brushed brass look or prefer a modern matt black or a polished chrome finish, we have styles to suit everyone.
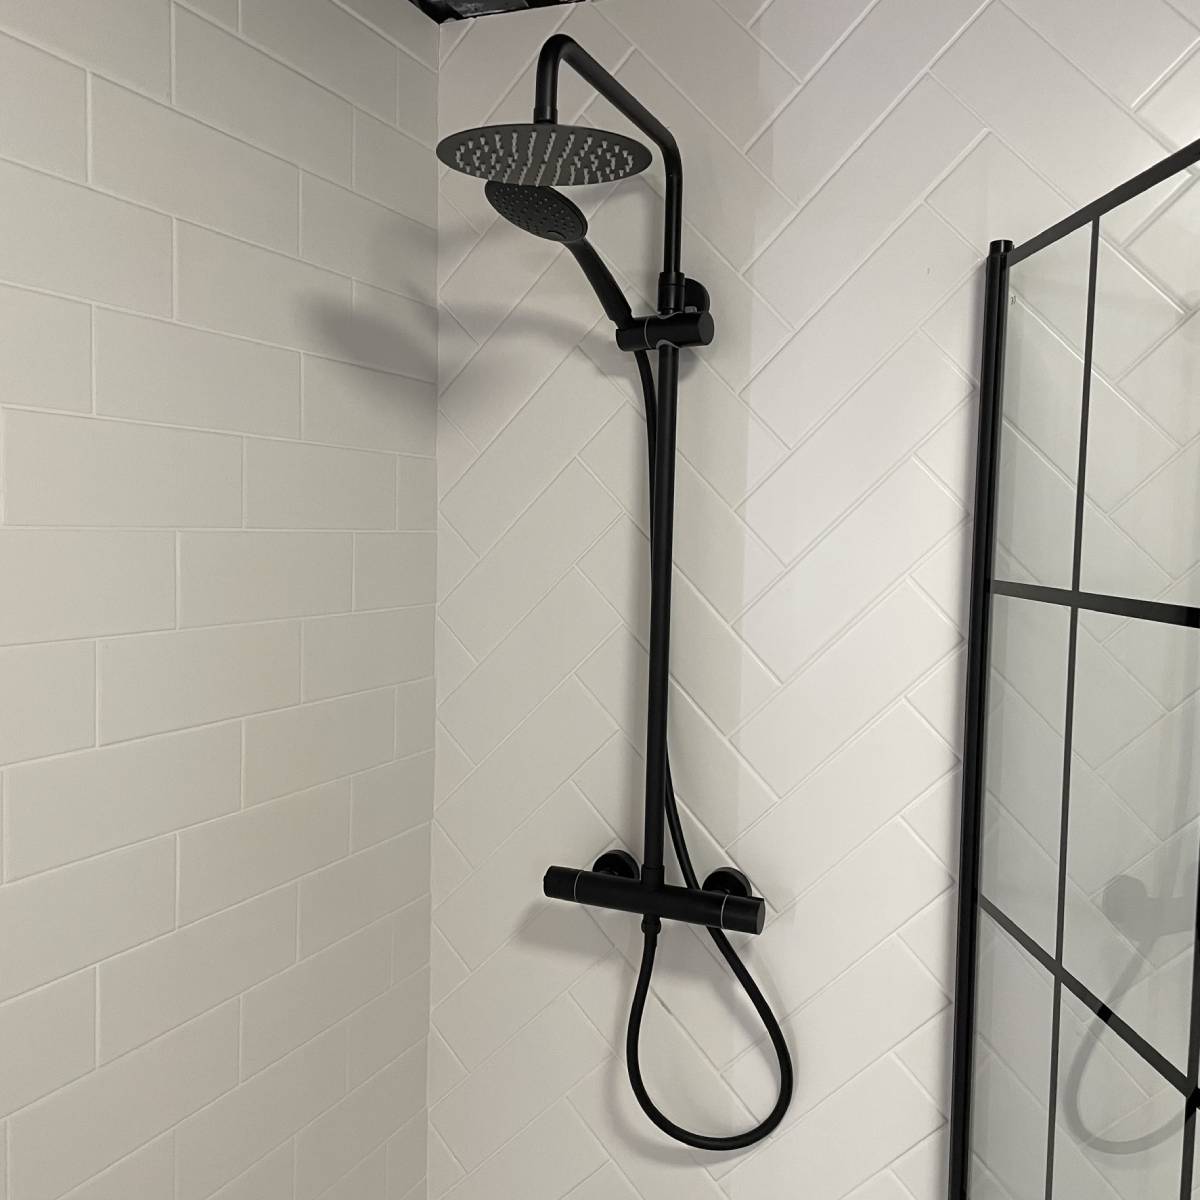
For example, our Eliseo Ricci Noir Cube Plus Thermostatic Rain Shower with Diverter has a modern matt black finish and stylish square showerhead – the perfect choice for the contemporary bathroom. With an adjustable handset holder and that all-important thermostatic control, the Eliseo Ricco Noir Cube Plus also has a luxurious rainfall showerhead which will deliver a more immersive showering experience. It’s also suitable for use with all plumbing systems, including high-pressure ones, making it a very versatile option.
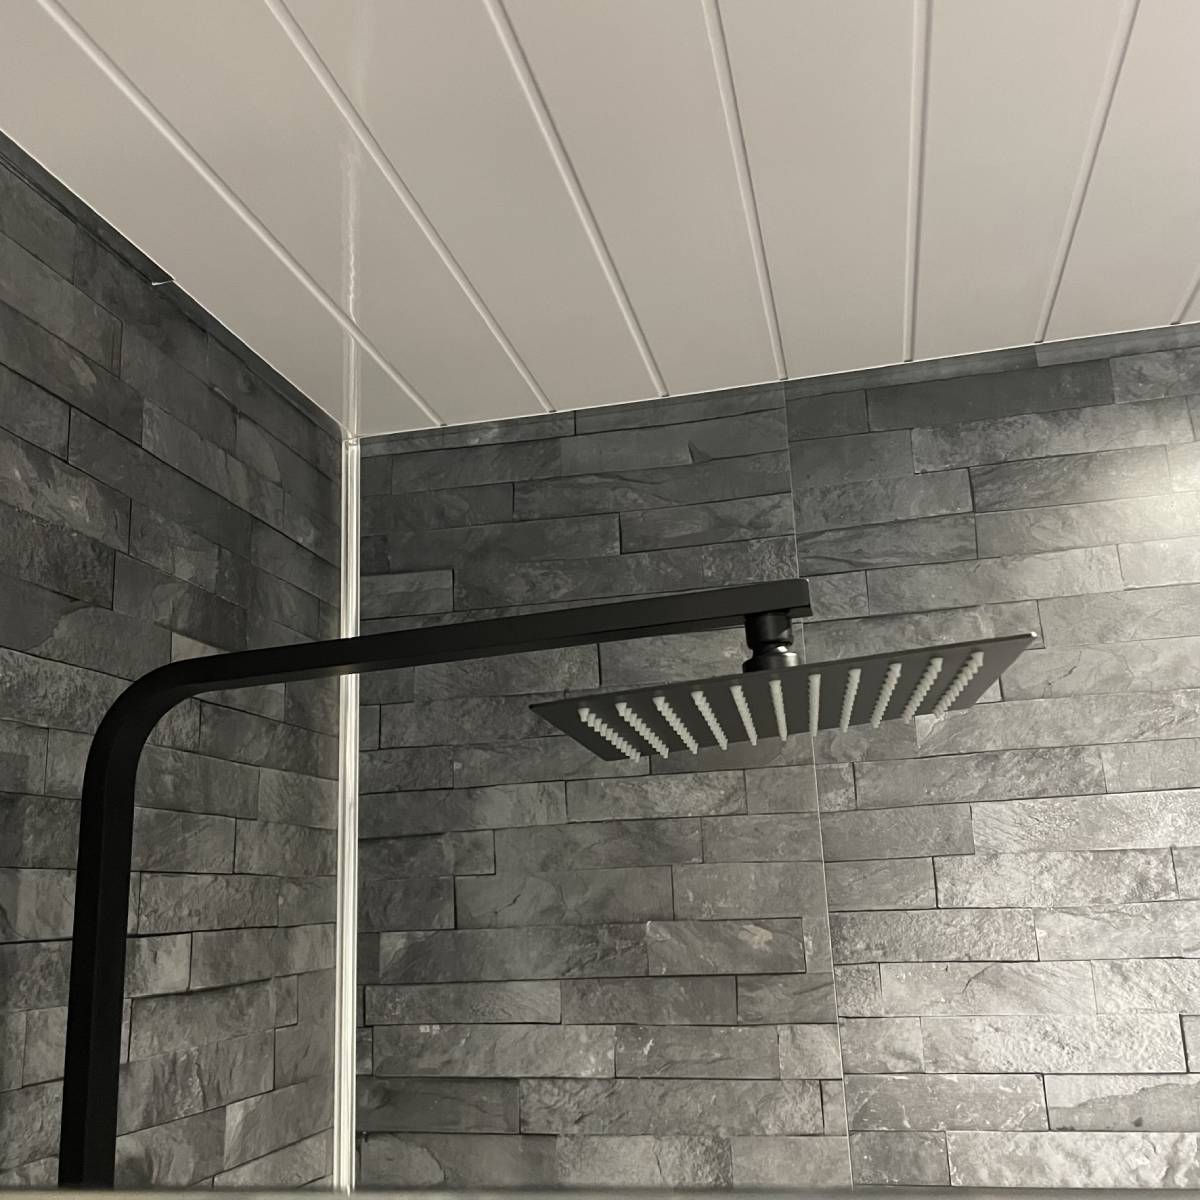
The square reainfall showerhead design of the Eliseo Ricci Noir Cube Plus Thermostatic Rain Shower with Diverter.
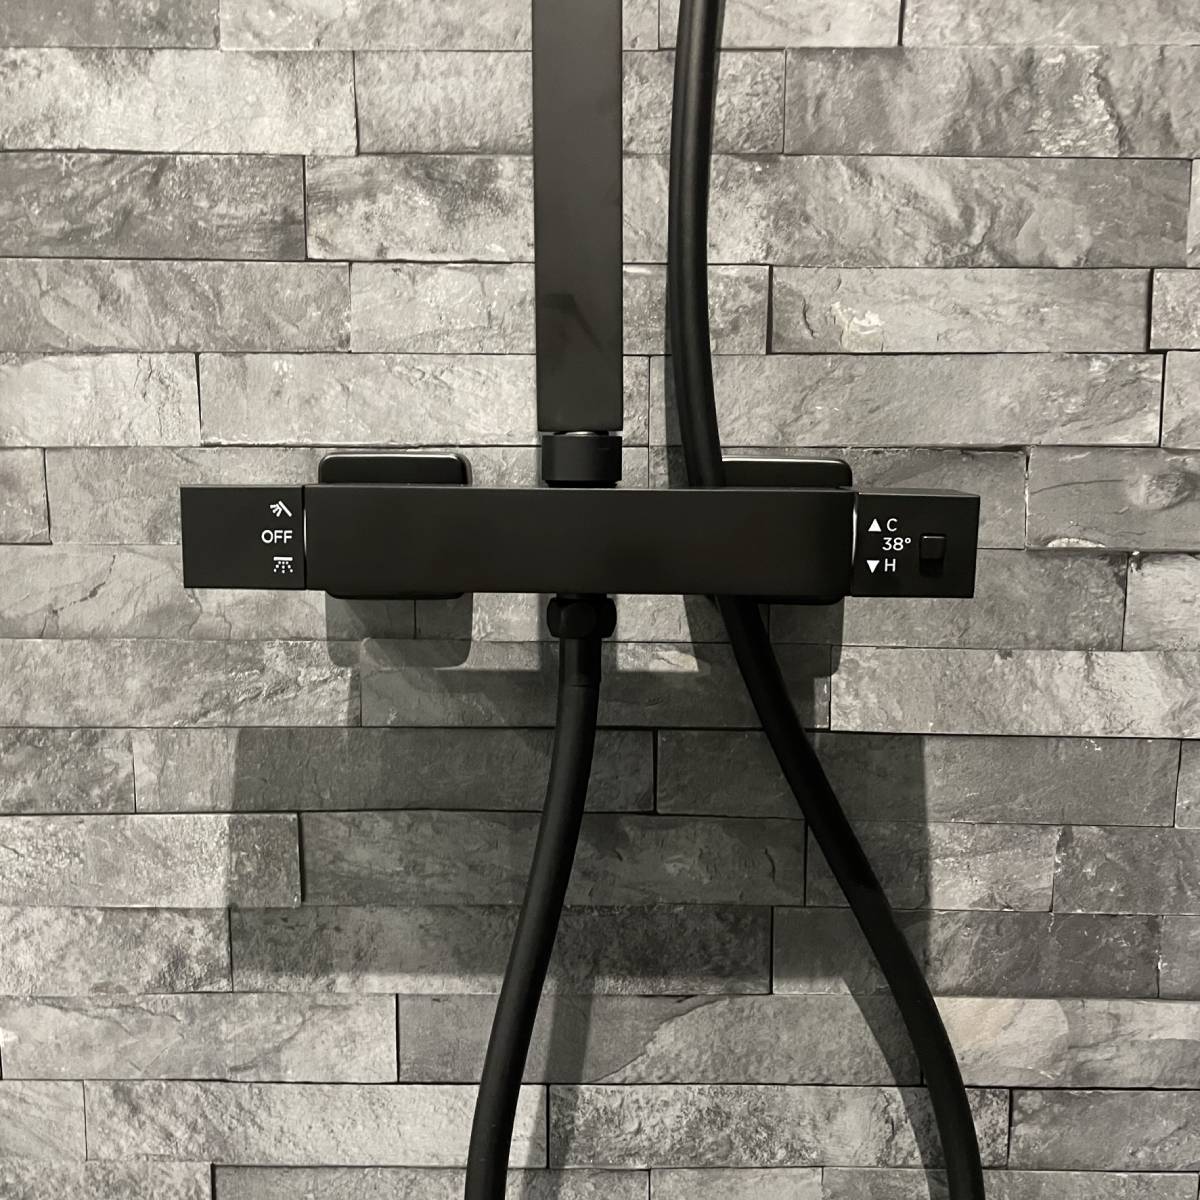
The Eliseo Ricci Noir Cube Plus Thermostatic Rain Shower with Diverter has a modern matt black finish.
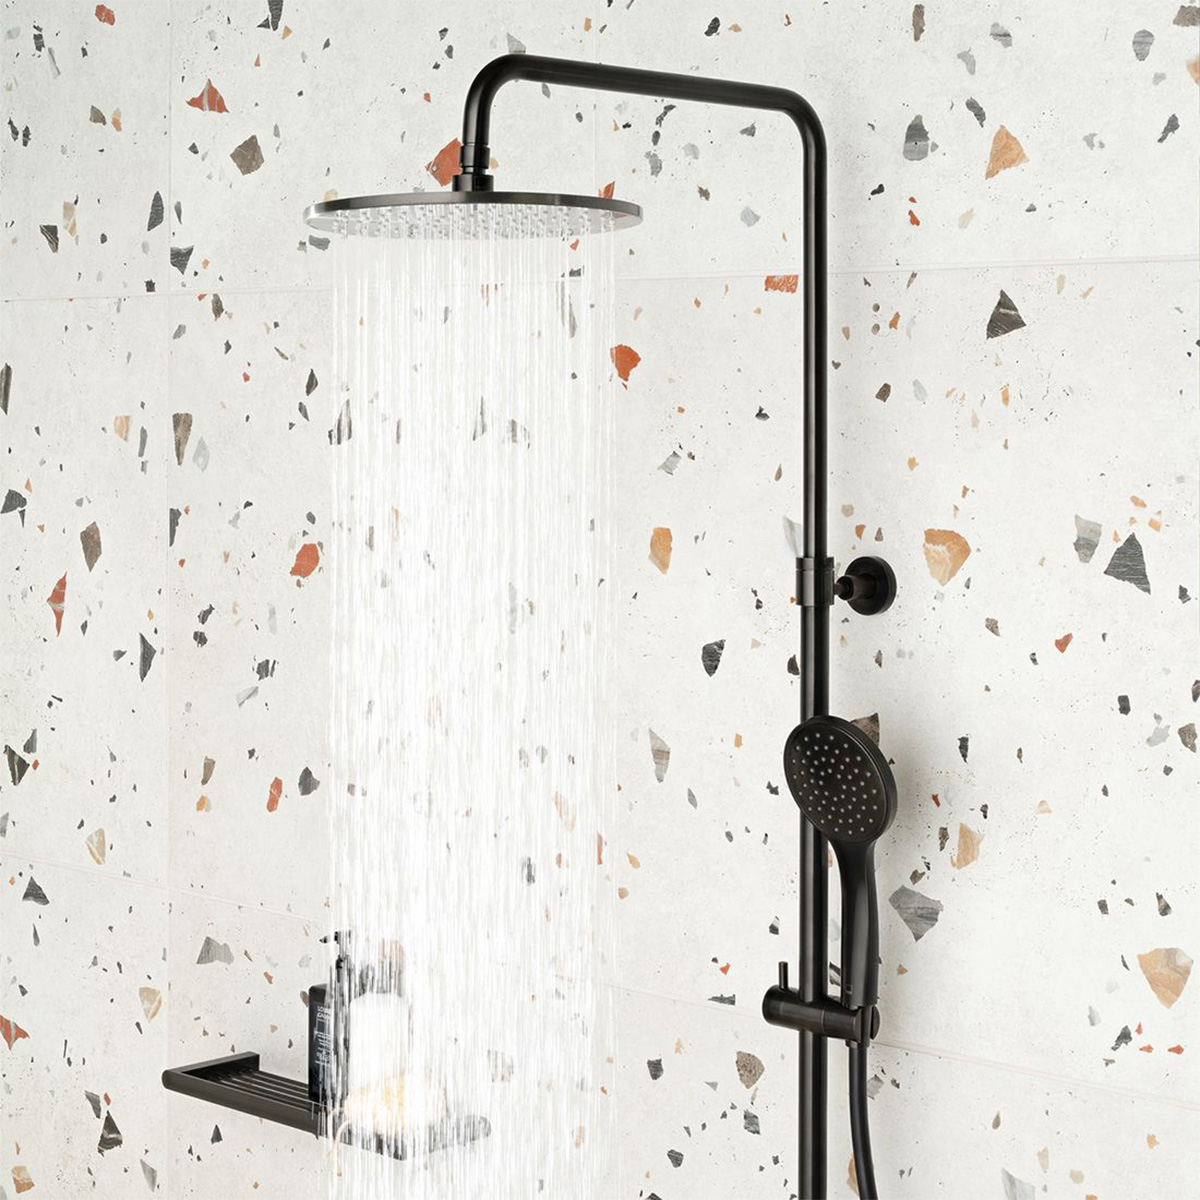
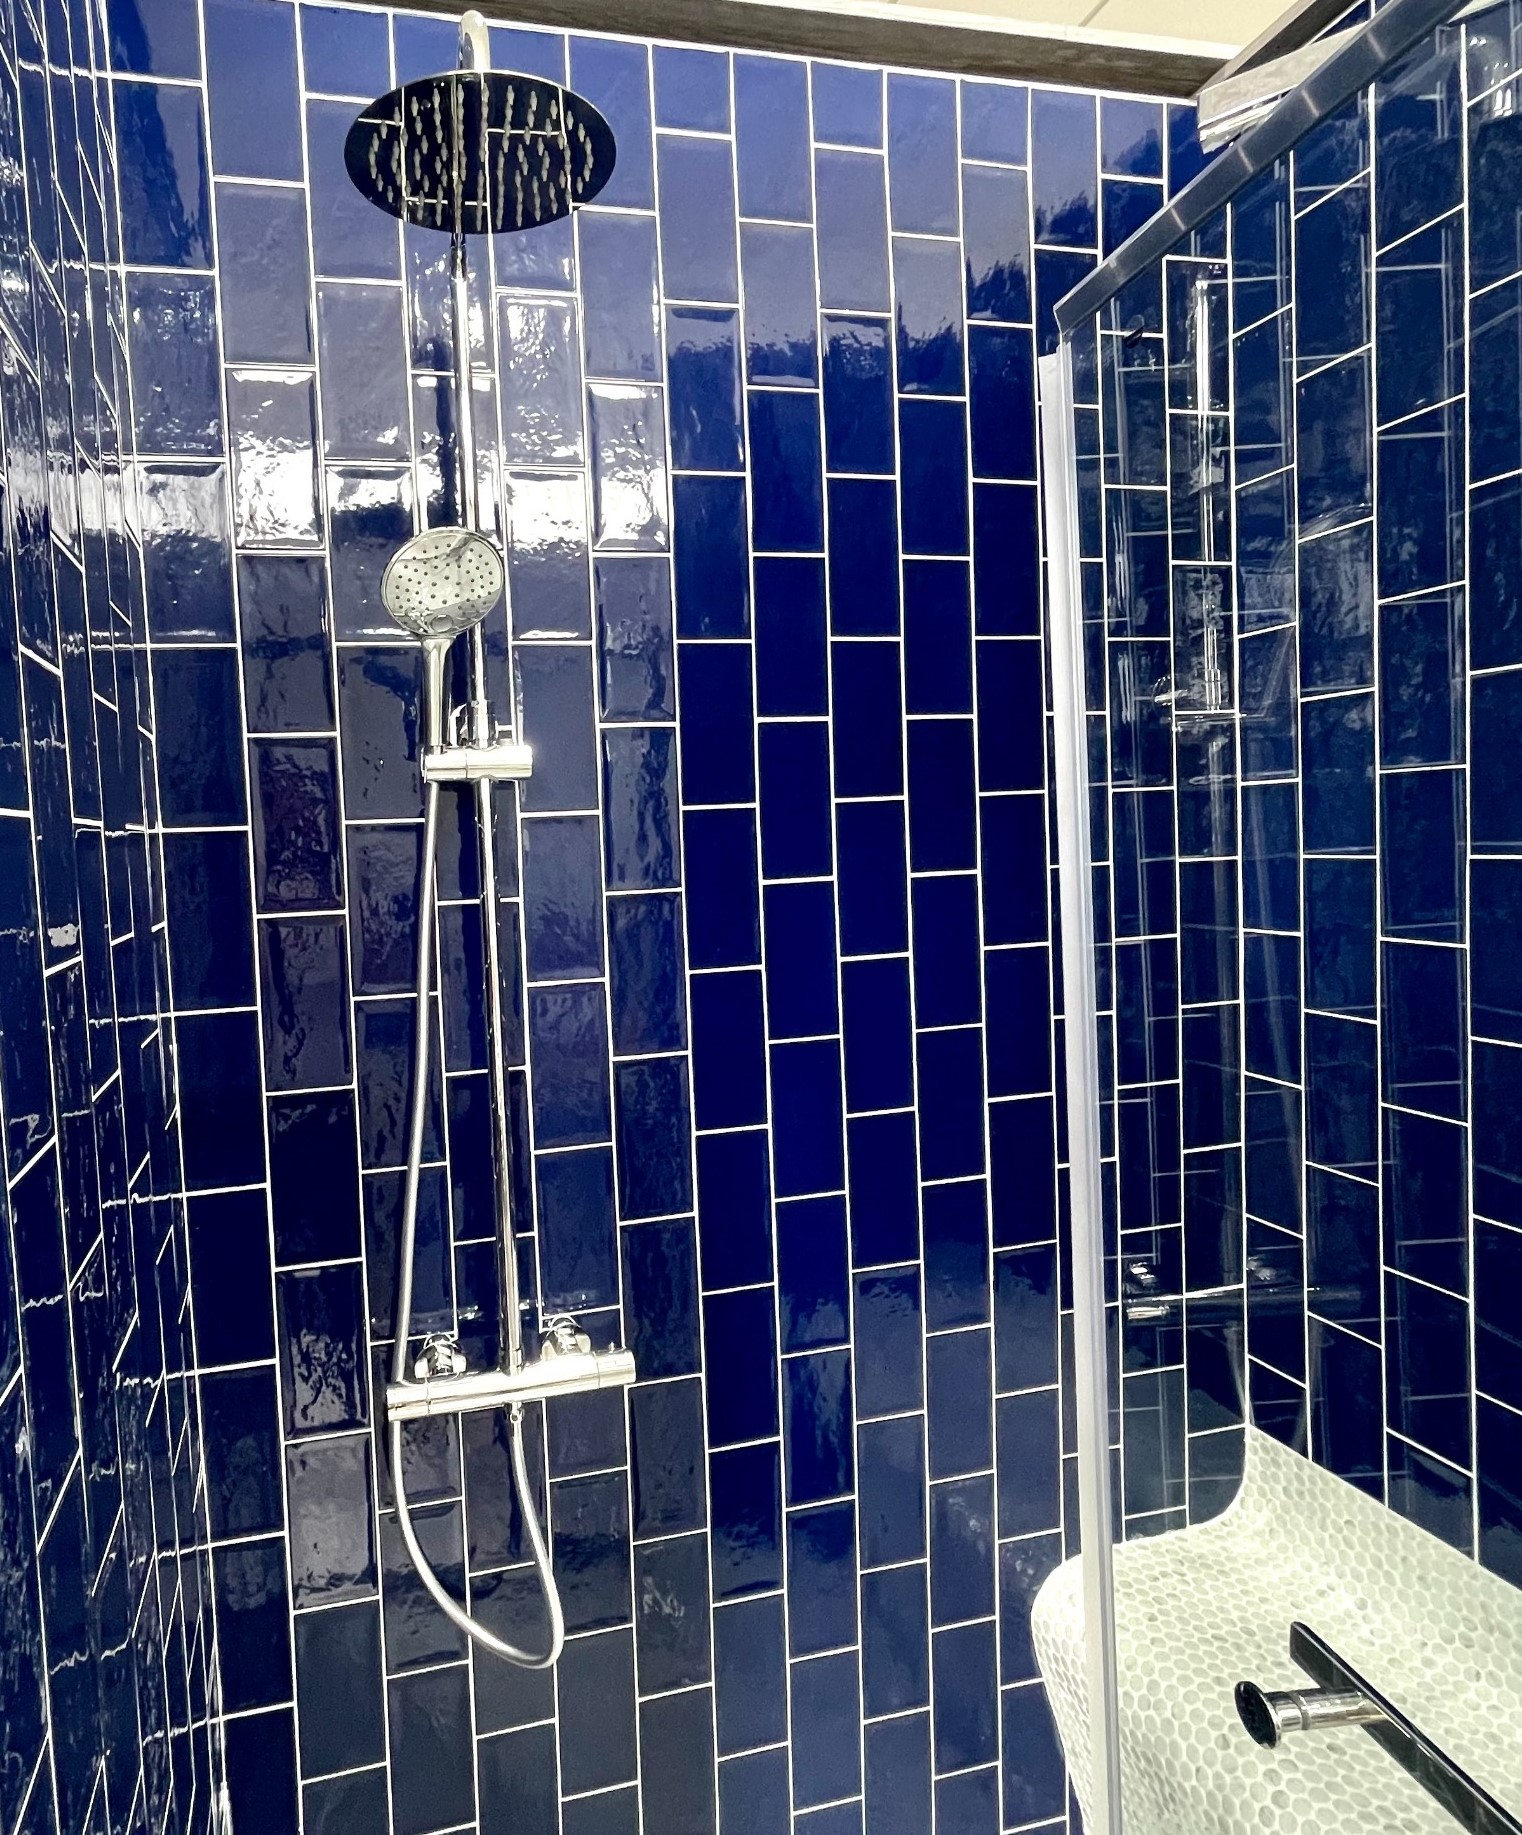
Another of our thermostatic showers is the Eliseo Ricci Curve Plus Thermostatic Rain Shower with Diverter in Chrome, which has a sleek style with that smooth, polished chrome finish. Suitable for use with high-pressure systems, it has a minimalist design for a more contemporary aesthetic, along with a round rainfall showerhead and matching handset for a more immersive experience.
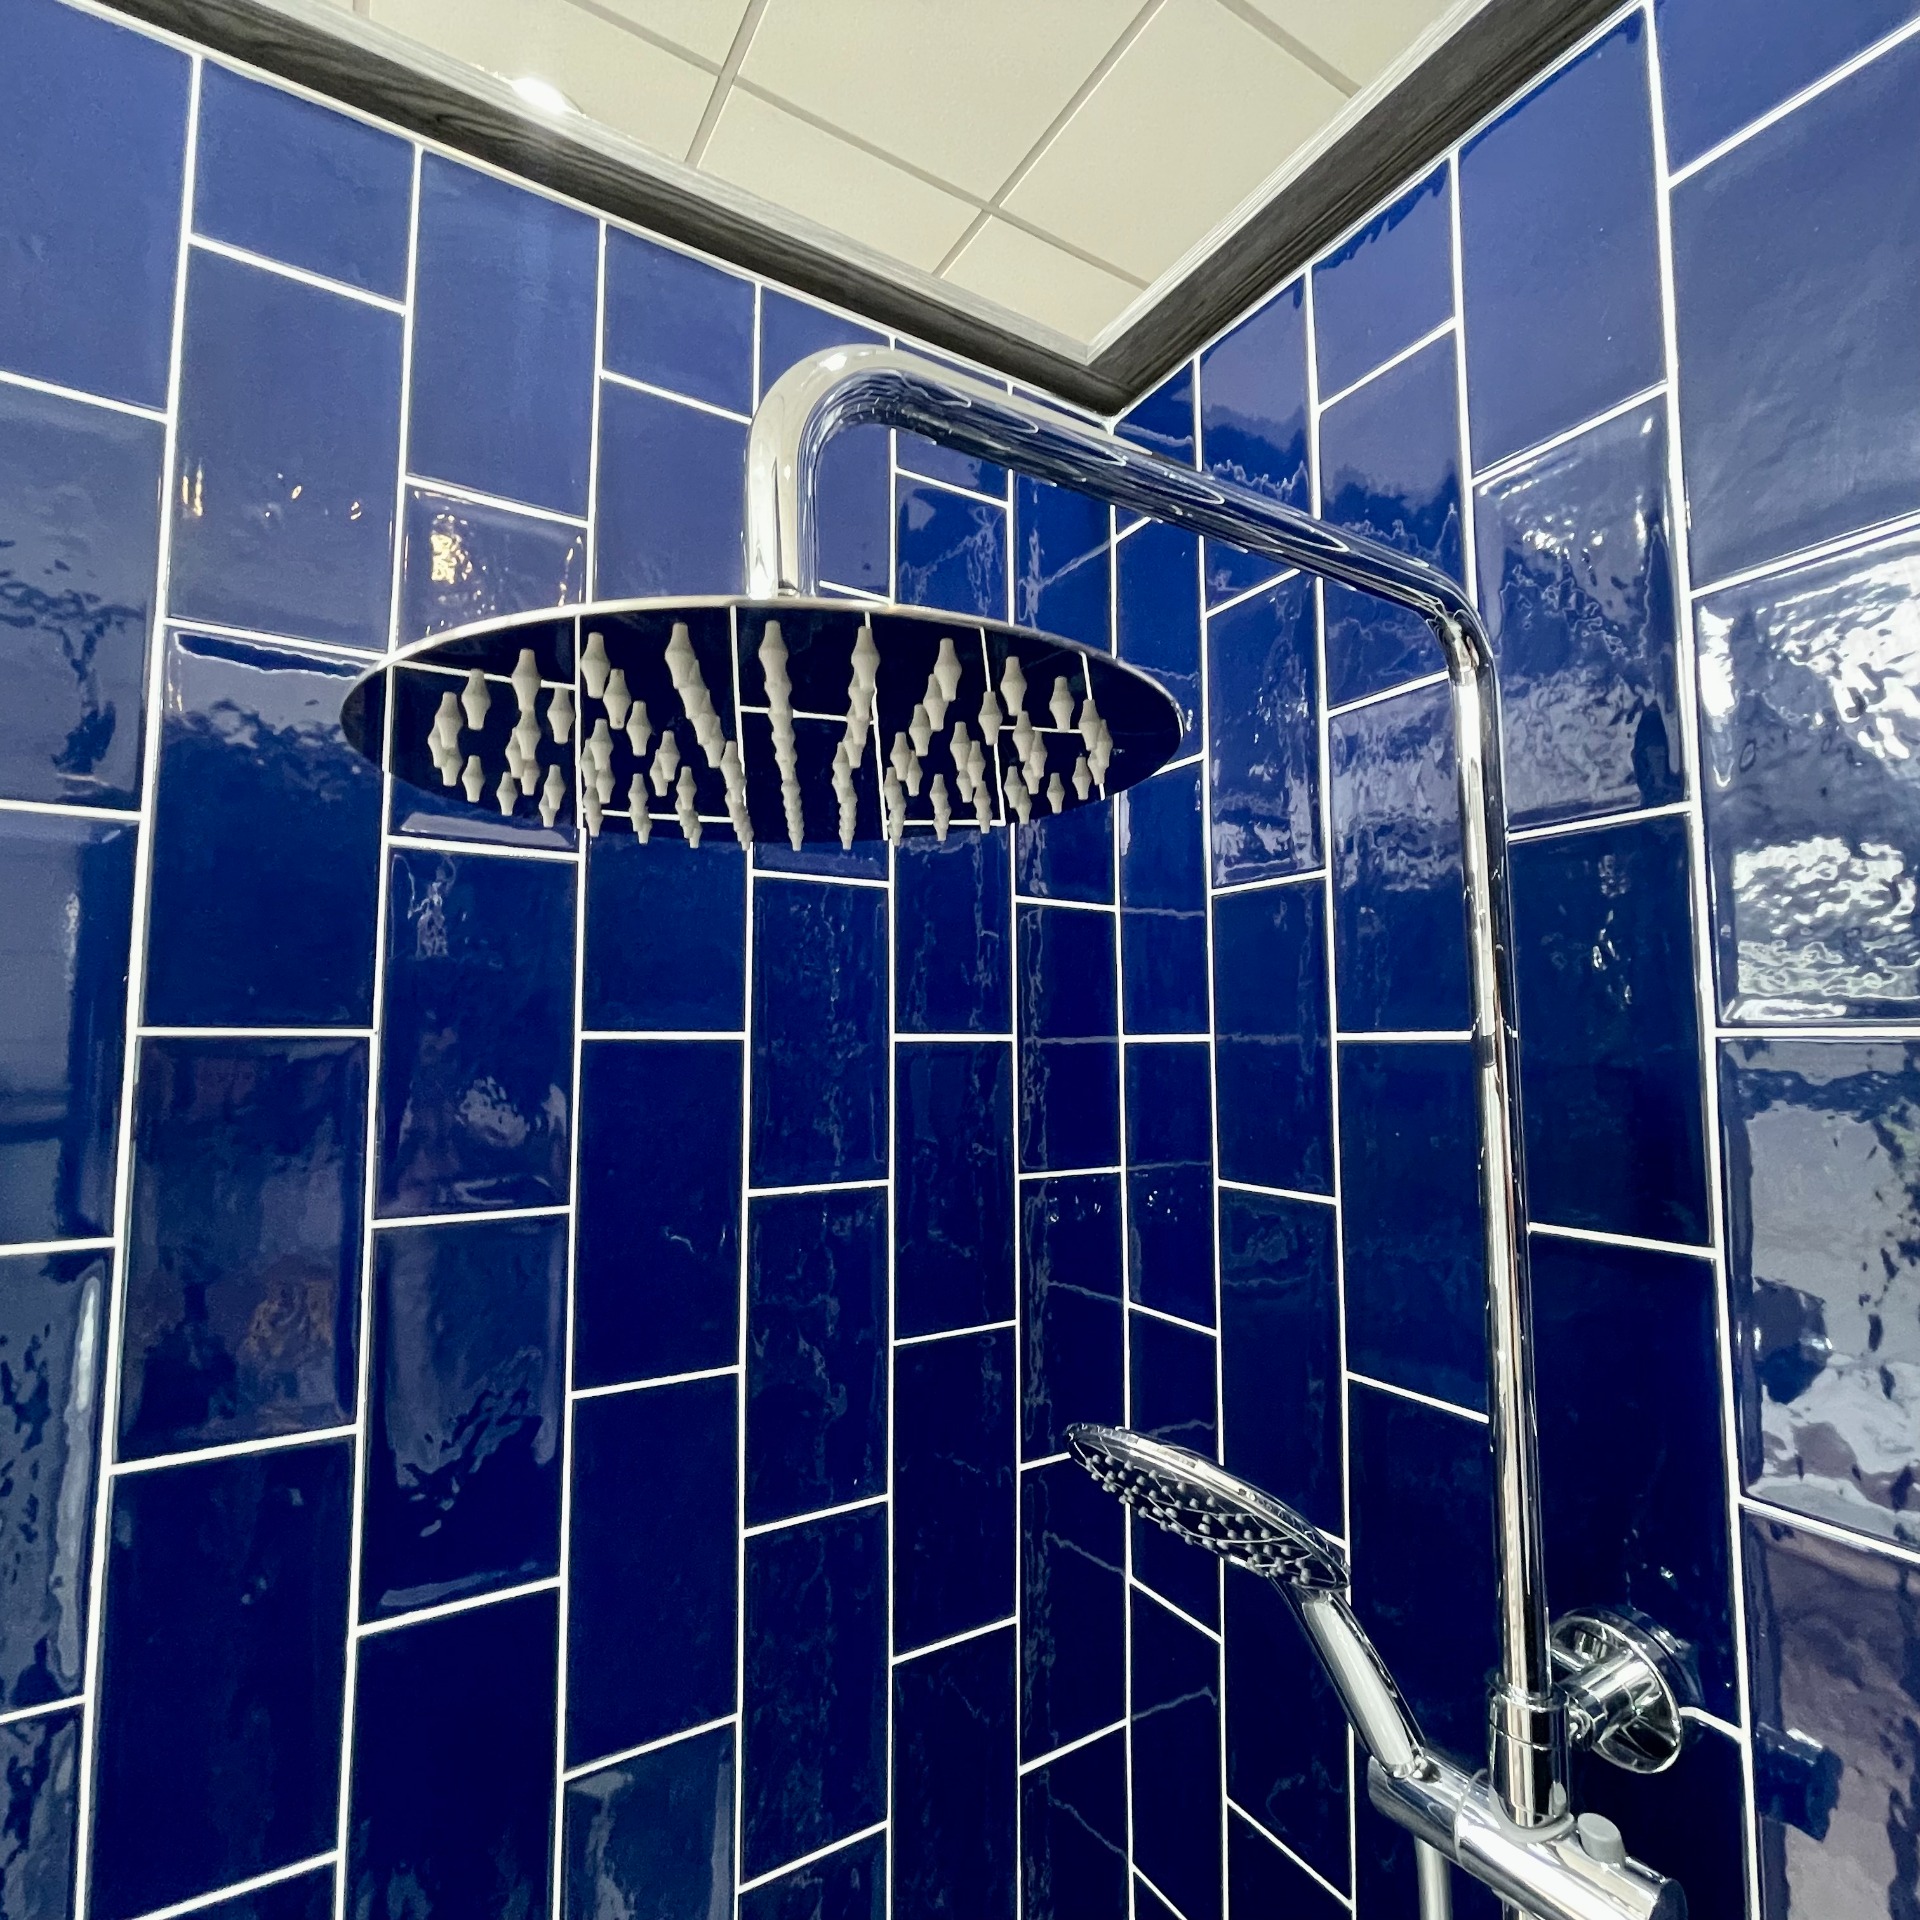
The Eliseo Ricci Curve Plus Thermostatic Rain Shower has a round rainfall-style showerhead and handset.
With many more styles available, if you’re searching for the perfect thermostatic shower, then make Bathshack your first port of call for high-quality products at great-value prices. Our friendly team is always on hand to assist with any queries you might have and can also explain how the showers operate, as required. Think thermostatic showers, think Bathshack every time.
To view our full range of showers, visit Bathshack.com and if you have any questions, just email us at info@bathshack.com, call us on (028) 9077 0188 or use our online chat.