How to fit a shower tray: A step-by-step guide
Whether you’re installing a new shower or are wanting to refresh your existing one and need to replace the shower tray, this is a job you can attempt yourself – if you’re confident with DIY. We always recommend hiring a professional for fitting any bathroom-ware, but if you want to know how to go about installing a standard shower tray by yourself, then read to the end of the blog for an overview of the key steps involved.

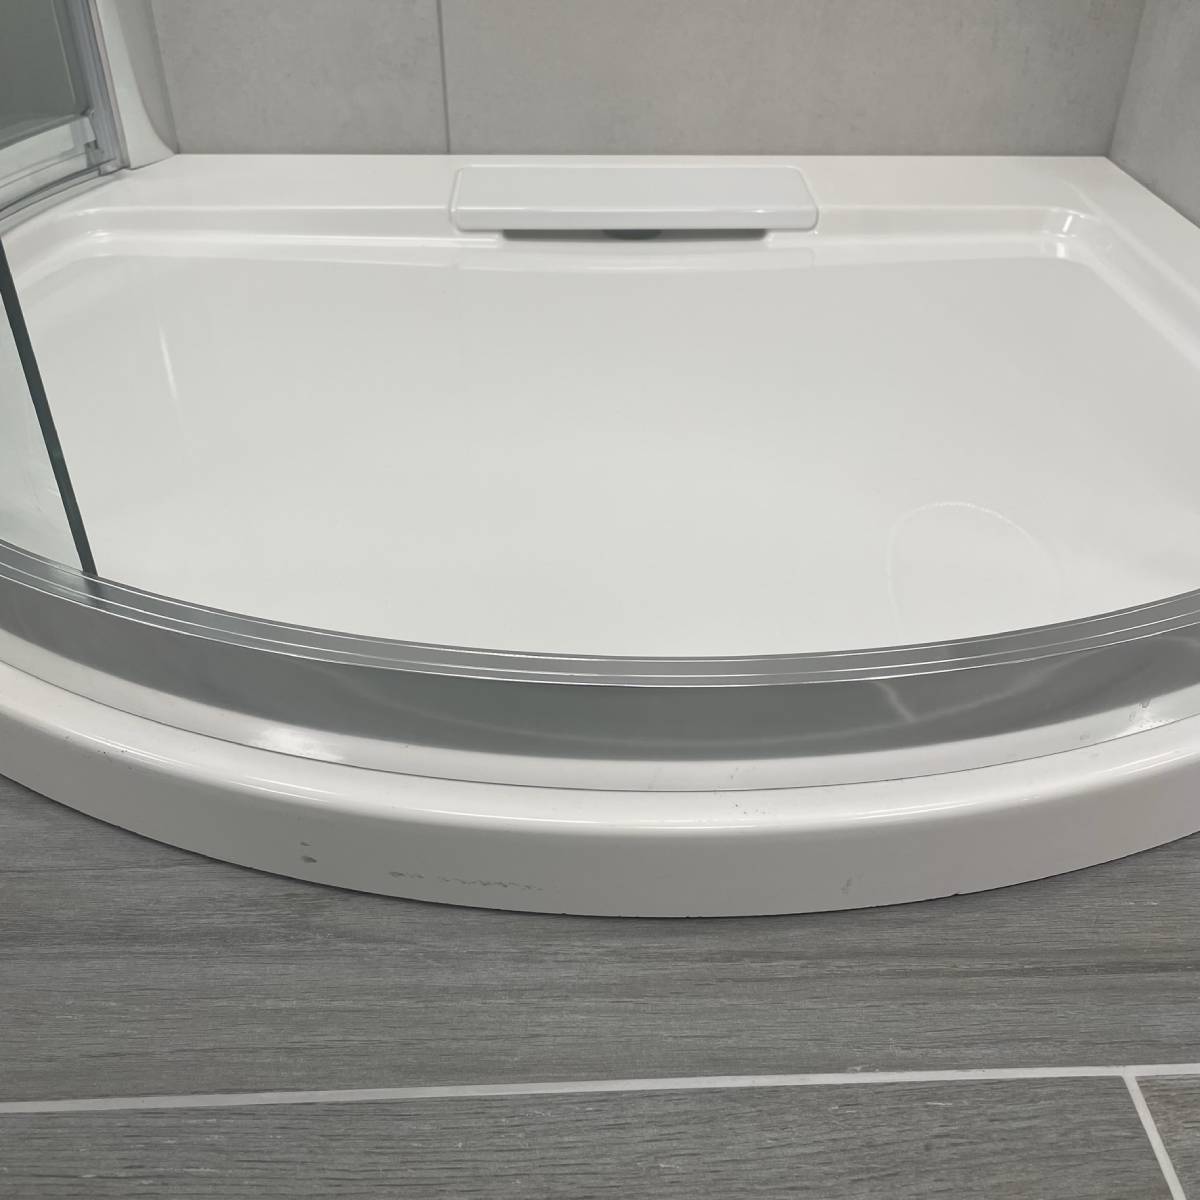
Shower trays are an important feature of any shower and should always be level and watertight.
Tools required for fitting a shower tray:
- Measuring tape
- Pencil
- Spirit level
- Shower tray
- Silicone sealant
- Adjustable wrench
- Screwdriver
- Drill (if necessary)
Step-by-step guide to fitting a standard shower tray
Step one: Prepare the area
Before you begin work, make sure the area within the shower where the tray will go is clean and free from debris. Also use your spirit level to check that the floor has an even surface and, if necessary, create a base for the shower tray using mortar or a shower tray riser kit to rectify any issues.
Step two: Check measurements and shower tray placement
Measure the dimensions of your shower tray and mark out where it will go on the floor with a pencil, before putting the tray in place.
Step three: Check the tray is level
At this stage it’s useful to check again that everything is level, so you can use your spirit level to do this, making sure the tray is level in all directions. Make any adjustments as necessary by adding or removing shims (thin plastic wedges used to fill gaps) beneath the tray.
Step four: Connect the shower waste outlet
If your shower tray has a waste outlet, connect it according to the manufacturer's instructions, using an adjustable wrench to tighten everything.
Always follow the manufacturer's instructions for fitting your specific shower tray.
Step five: Secure the shower tray
Once the tray is level and in the correct position, secure it to the floor using the screws or clips provided by the manufacturer. Always follow the specific instructions for your shower tray as per the manufacturer’s instructions.
Step six: Apply sealant for a waterproof finish
The next step is to apply a bead of waterproof silicone sealant around the edges of the shower tray where it meets the walls and floor to create a watertight seal and prevent leaks.
Step seven: Allow sealant to dry
Let the silicone sealant dry completely according to the manufacturer's instructions before using the shower.
NB: Before using your shower check that everything is fitted correctly and is fully watertight by running water into the tray, making any adjustments as necessary. You can then clean off any excess sealant and enjoy using your new shower tray.
Find all your shower products and bathroom-ware at Bathshack.
Shop shower trays at Bathshack
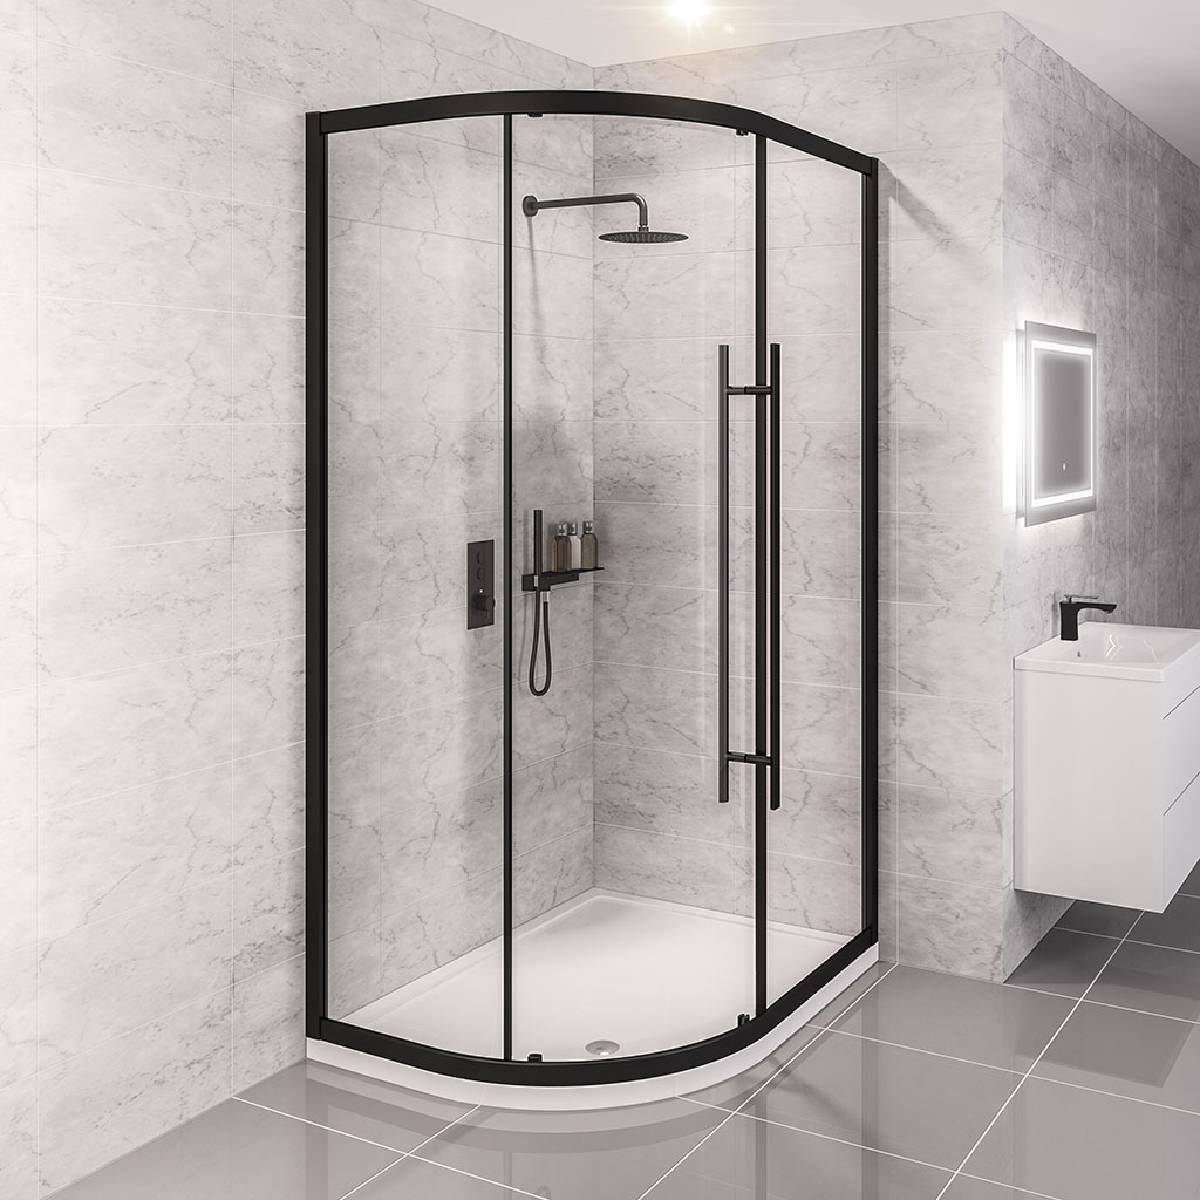
If you’re looking for shower trays, then we have a great selection of high-quality products available at Bathshack, with something to suit every taste and shower type. Whether you’re looking for square or rectangular trays, quadrant styles or slate, there are lots of options for your bathroom. Our expert team can also assist you in choosing the right tray for your shower, so always ask for advice if needed.
In addition to this we supply a wide range of shower enclosures and shower kits too, so whatever you need, if it's shower or bathroom-related, you'll find it at Bathshack.
To view our full range of bathroom products, visit Bathshack.com and if you have any queries, just email us at info@bathshack.com, call us on (028) 9077 0188 or use our online chat.