How to fit a floating vanity unit

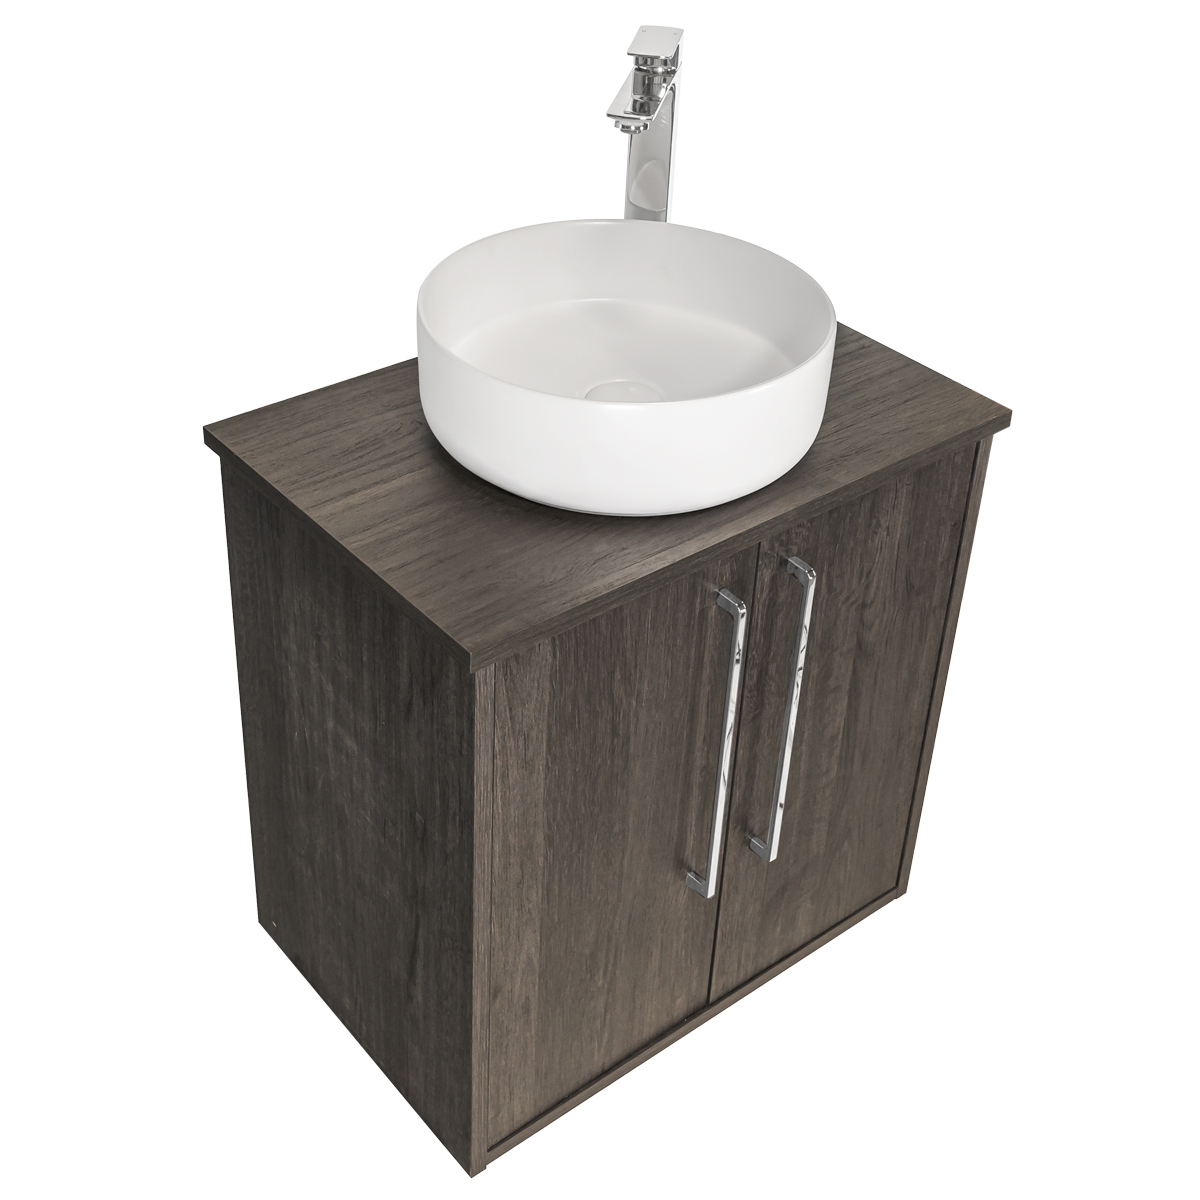
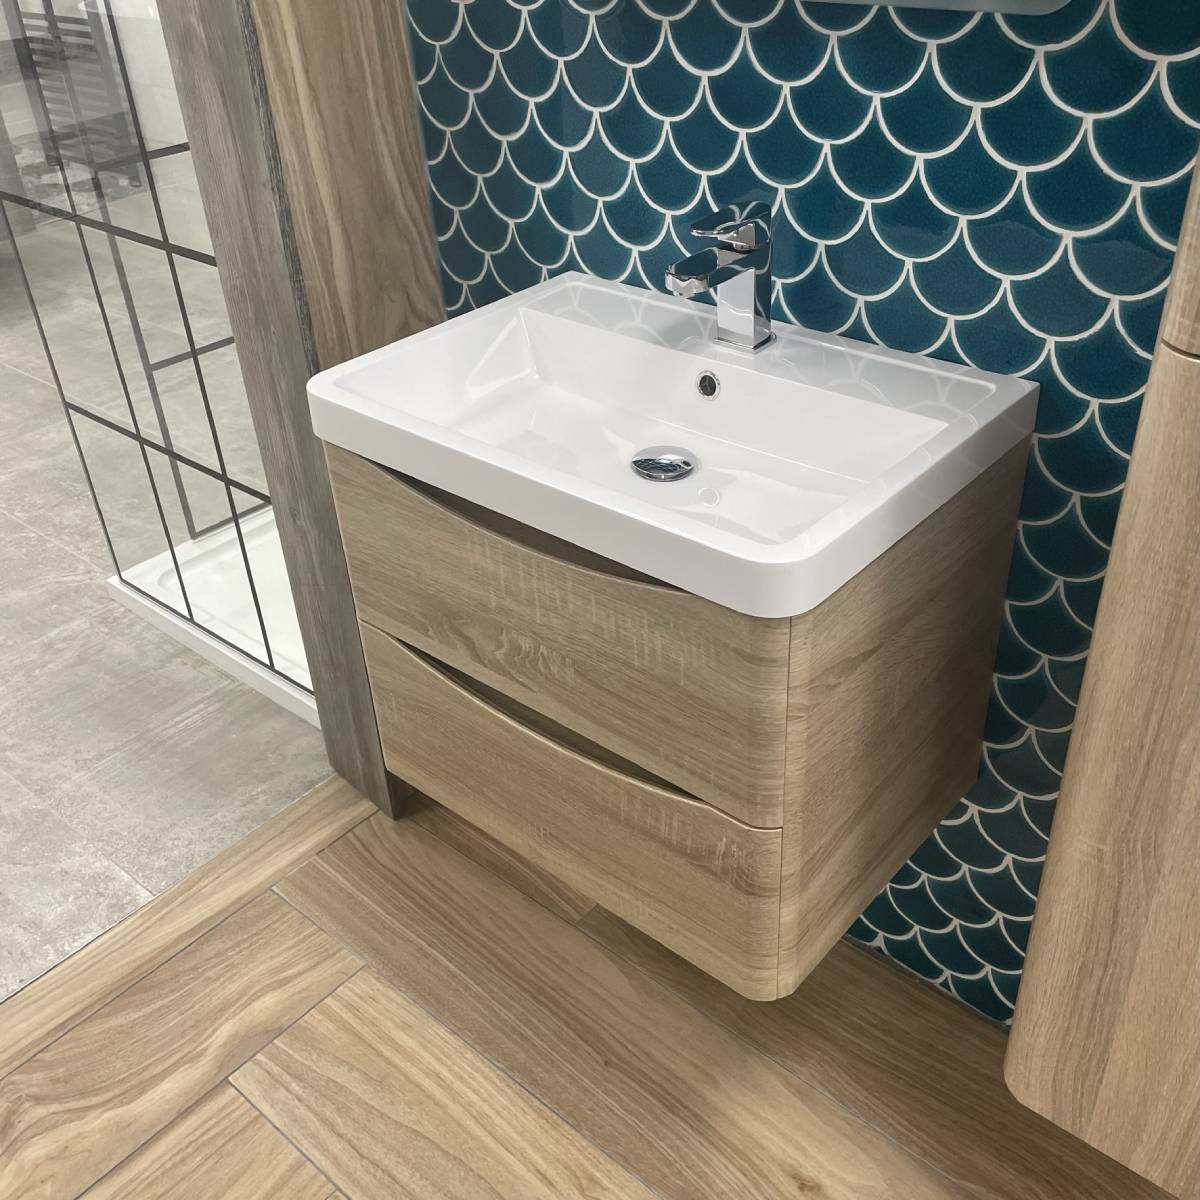
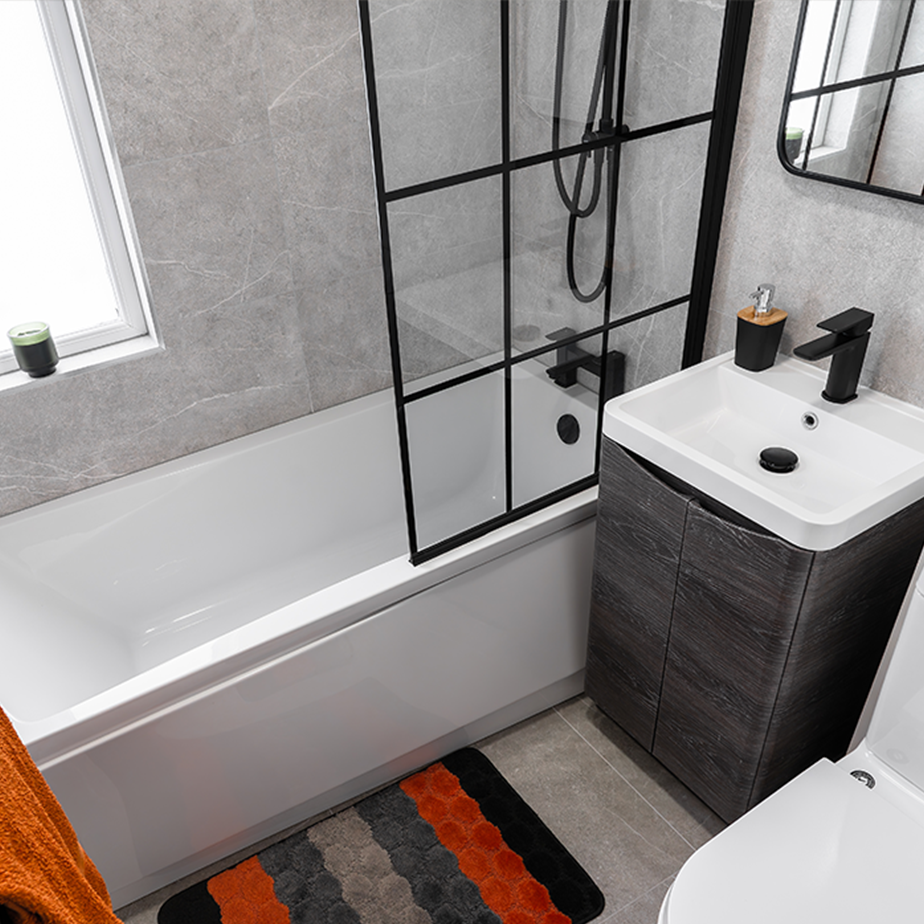
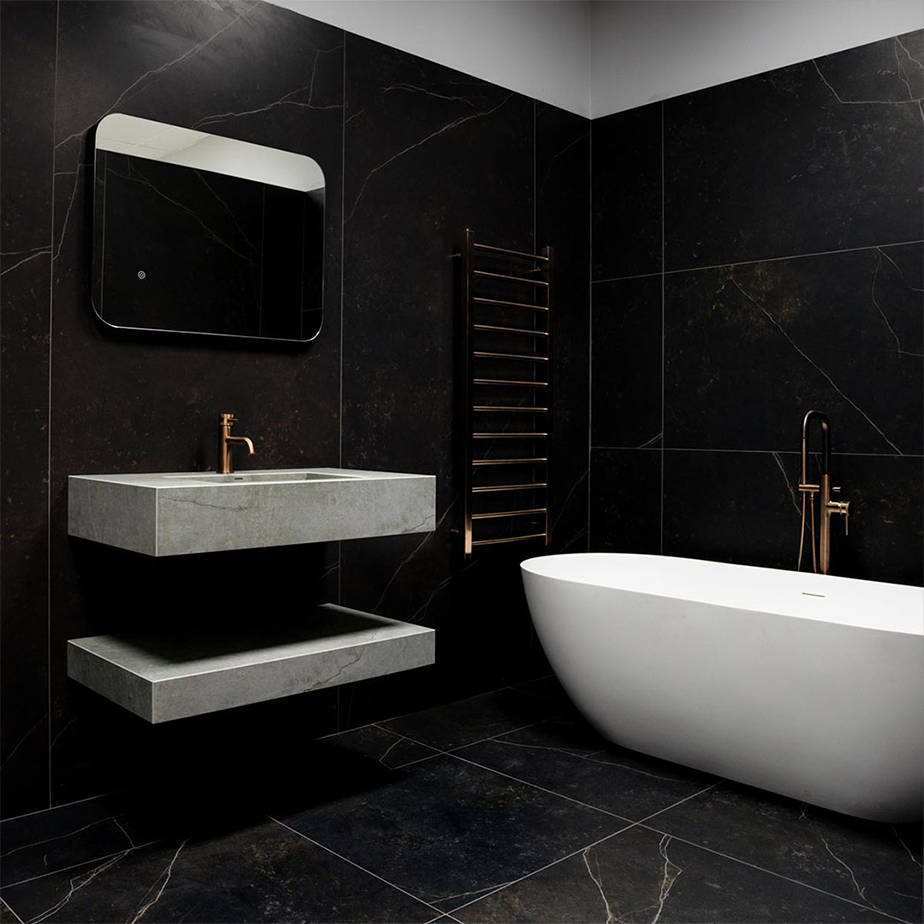
If you’re choosing a new vanity unit for your bathroom then a floating or wall-hung vanity is a great option if you want a more contemporary style. They’re also great for saving floor space, so are ideal if you have a smaller bathroom or are fitting out a cloakroom.
The following blog will subsequently look at how to install a floating vanity unit, looking at what you’ll need to do the job and providing an overview of the process. While we always recommend hiring a professional to do any installation work, if you’re confident with DIY and want to fit it yourself – or are simply interested in finding out more – then read to the end.
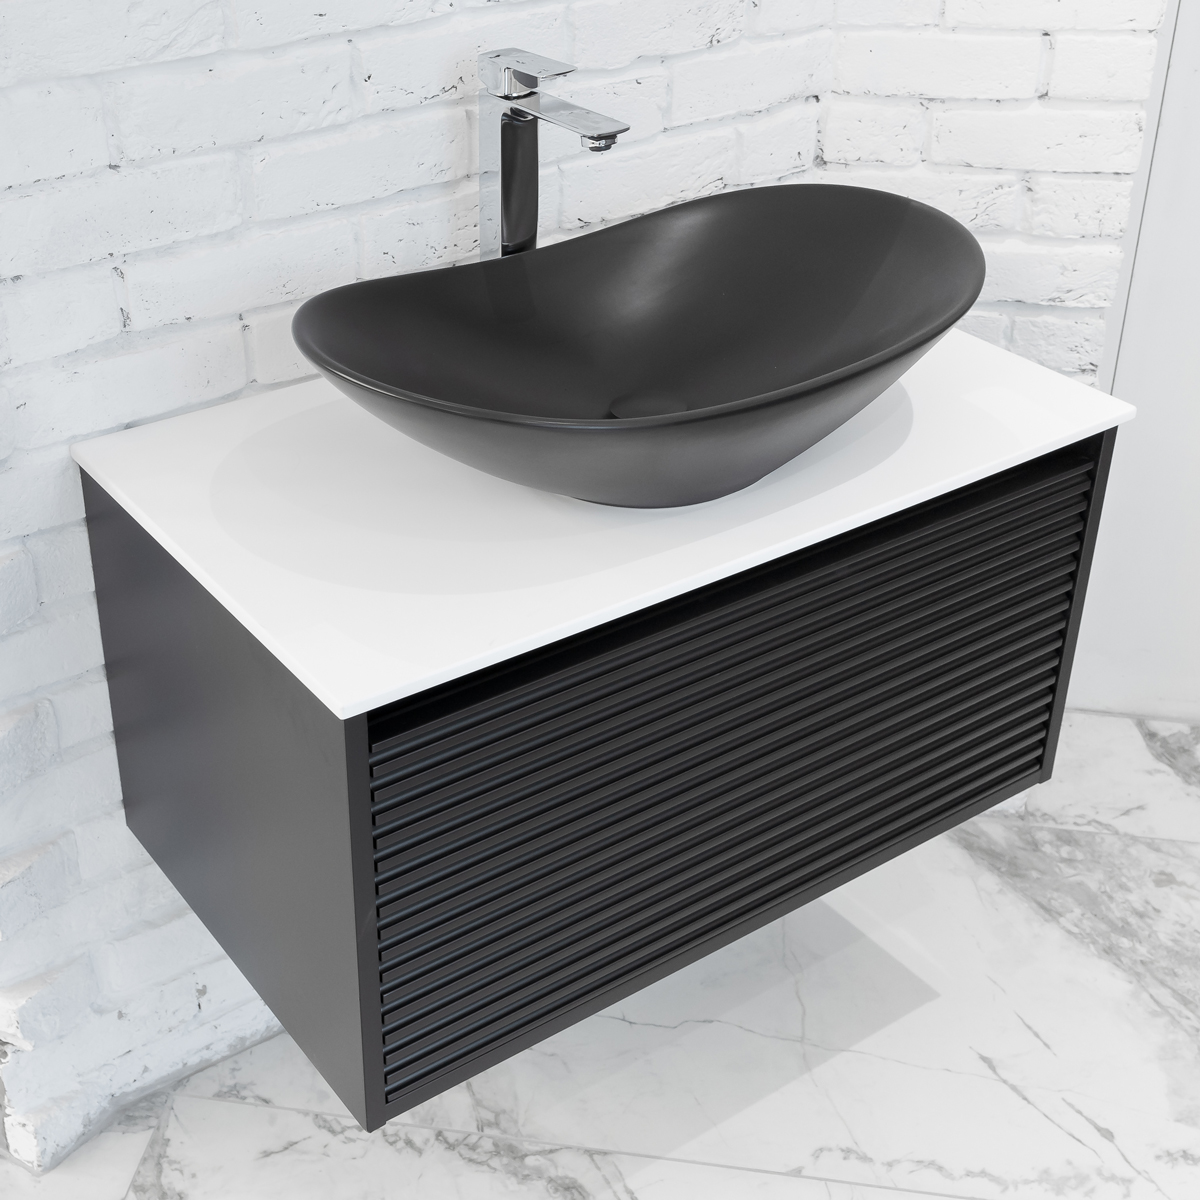
Wall-hung or floating vanity units are great space-savers and have a modern look.
Step-by-step guide to fitting a wall-hung vanity
NB: If replacing an existing vanity unit then you’ll need to remove this before fitting the new one. Always make sure to turn off the water at the mains, along with the electricity supply beforehand.
Tools required
- Safety goggles and gloves
- Tape measure
- Pencil
- Spirit Level
- Stud detector
- Electric drill
- Hammer
- Standard screwdrivers
- Screws (usually supplied with the unit)
Step One
Measure the space: Measure the area where you want to install the vanity, including the width, height and depth, as well as noting where the plumbing lines and electrical outlets will be.
Step Two
Choose your new vanity: Select a wall-hung vanity unit that fits your space and personal style preferences, taking into account factors such as the material, finish and storage options. Once you have your vanity, always check to make sure you have all the parts and that it isn’t damaged.
Step Three
Locate and mark the studs: Floating vanities need to be anchored securely to studs for support, so make sure you locate the studs in the wall (using a stud detector) where you plan to install the vanity. Once located, use a pencil to mark the positions of the studs as these will then guide you when attaching the vanity.
Step Four
Install Support Brackets: Floating vanities typically come with mounting brackets. Install these brackets into the studs using screws, making sure they’re level and securely attached to the wall.
Step Five
Prepare the vanity: If the vanity requires any assembly, follow the manufacturer's instructions to put it together, ensuring that all the components are securely attached.
Step Six
Mount the vanity: Lift the vanity into place and slide it onto the mounting brackets. NB You may need someone else to assist you with this step. Double-check that it’s level before securing it in place using the screws provided, making sure they’re tight enough so that the vanity is secure and won’t come away from the wall.
Step Seven
Connect Plumbing: If your vanity has a sink, then you'll need to connect the plumbing. Follow the manufacturer's instructions for your specific unit or consult a professional plumber if you're unsure about how to do this.
Once the vanity is securely installed, add any finishing touches such as installing the faucet, attaching the cabinet doors or drawers and applying silicone caulk around the edges of the sink to prevent water damage.
Invest in the perfect vanity at Bathshack
If you’re looking for a new wall-hung or floorstanding vanity unit then we have a wide range of options available at Bathshack, with high-quality and great-value guaranteed. Whether you want a larger unit or something more compact, we have lots of different styles and designs – from modern to more traditional looks – along with an array of colours and finishes.
We also have a large selection of countertop basins to match with your preferred vanity, along with lots of other styles. Just chat to our team to find out more or call in-store to see what we have.
To view our full range of bathroom products, visit Bathshack.com and if you have any queries, just email us at info@bathshack.com, call us on (028) 9077 0188 or use our online chat.
