Everything You Need To Know About Fitting Tiles

First off, why tiles?
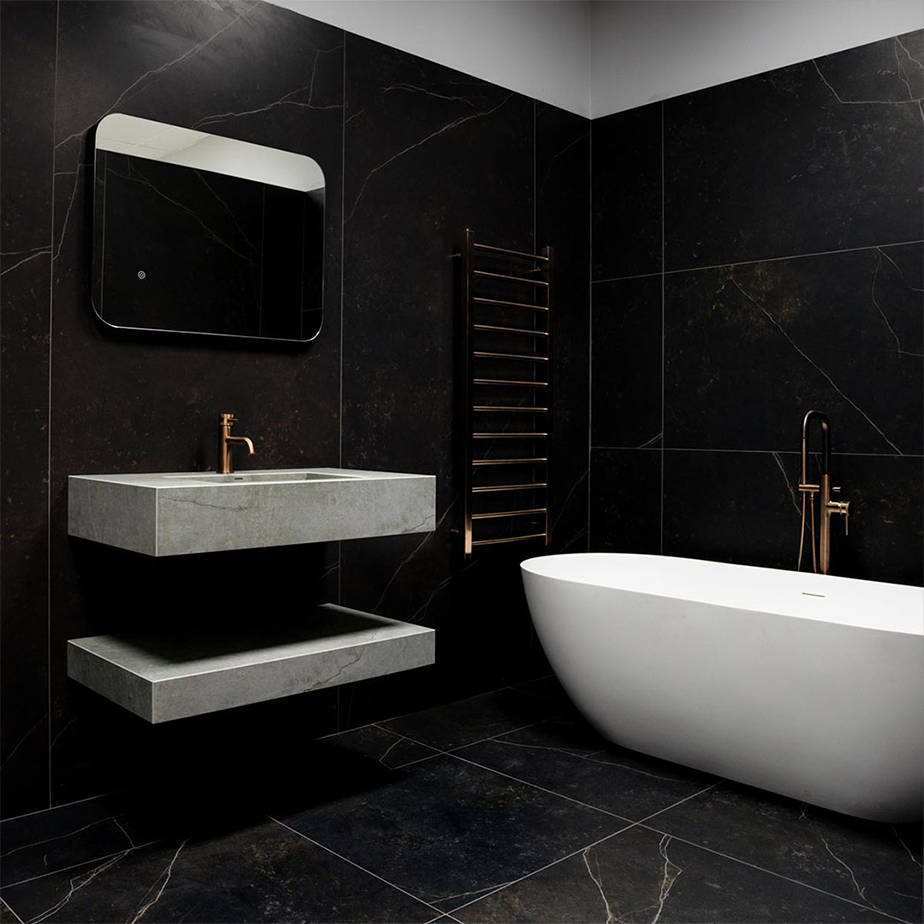
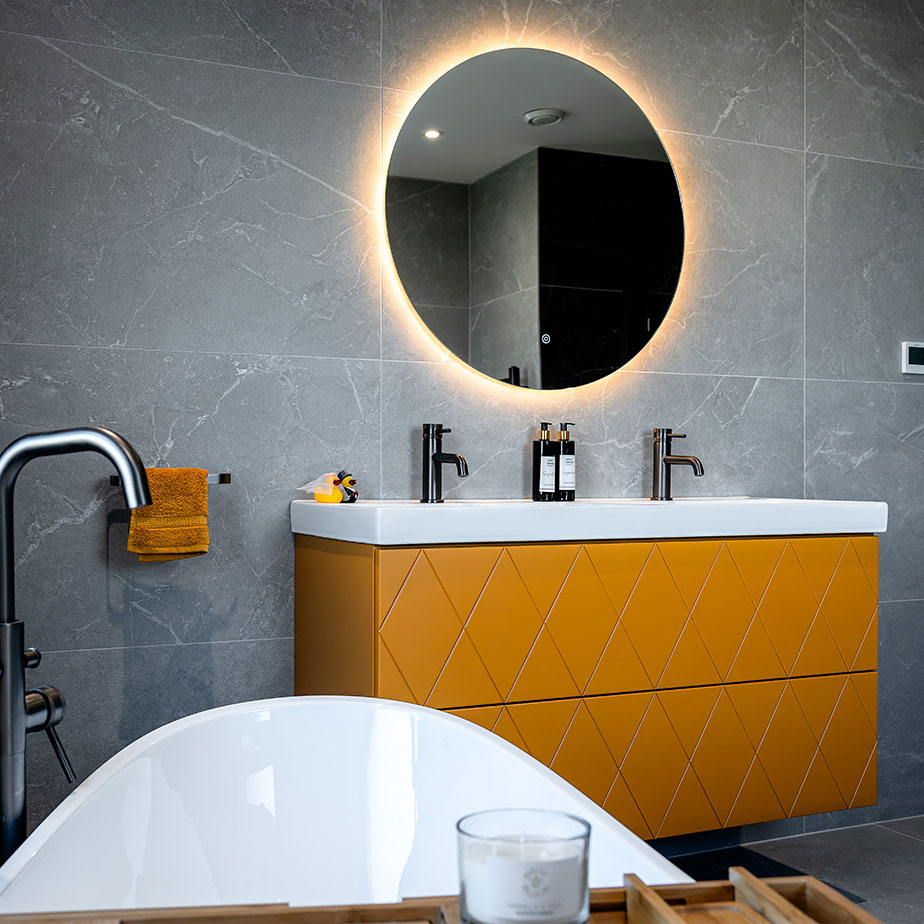
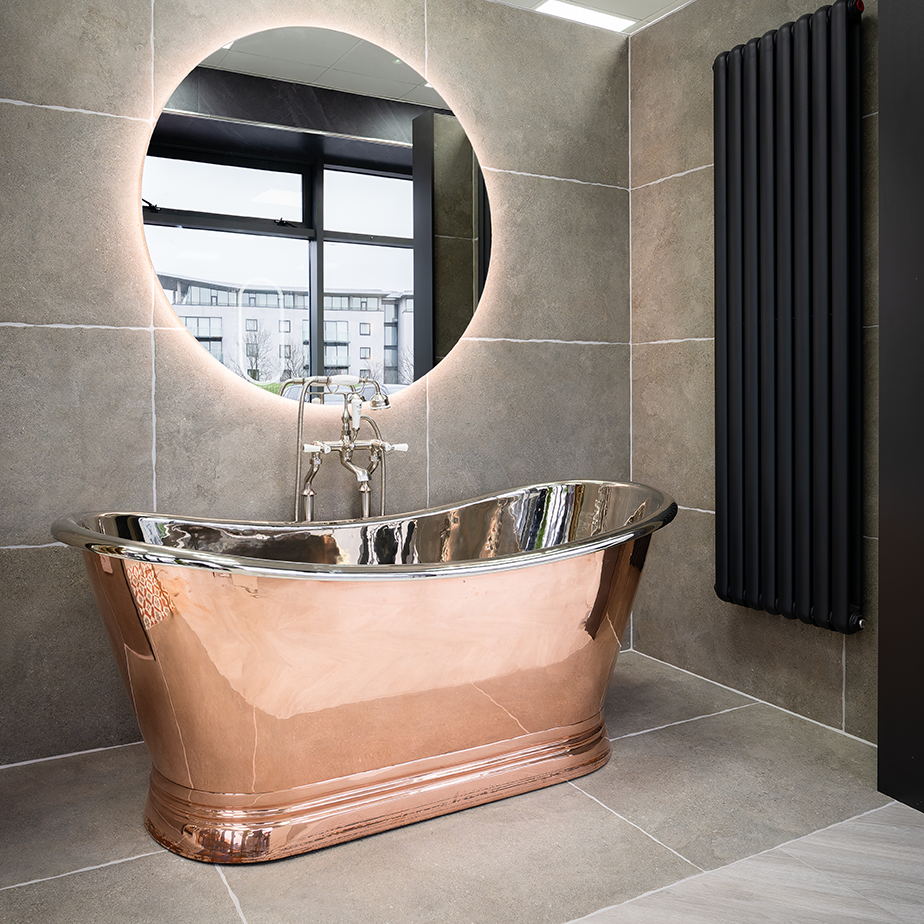
Tiles are a great way to give a room a well-needed refresh. They are durable, easy to clean, and add some vibrancy to a room. If you want to know more about which tiles will work best for you, we’ve laid it out for you in this blog post.
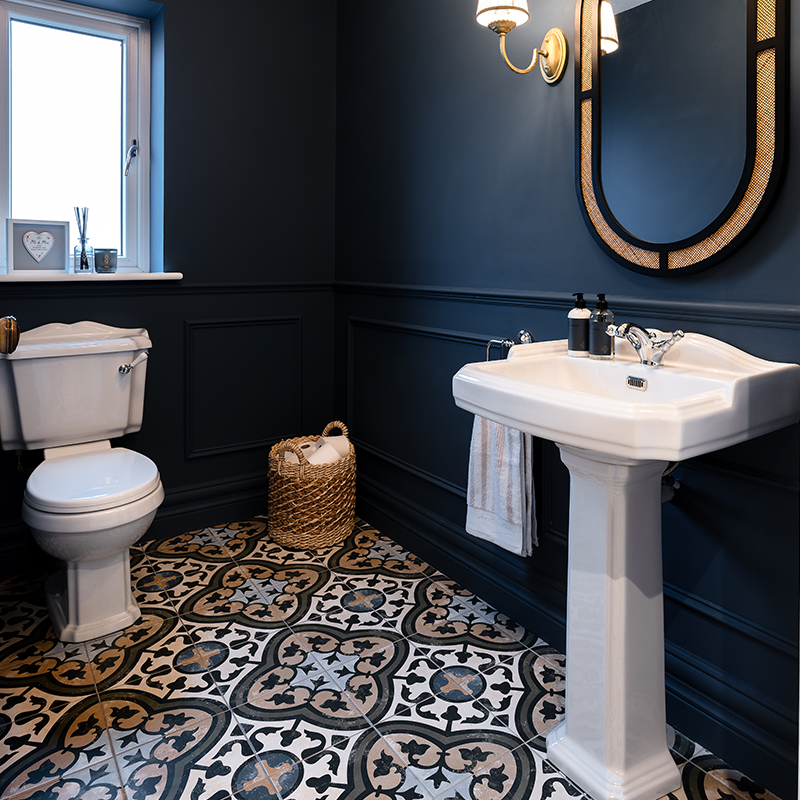
Whether you’re keeping it crisp with glossy white tiles, or you’re going bold with patterned ones, we’re here to advise you on how to fit them without any bumps along the road.
Fitting tiles is no mean feat.
You’re staring at your bare floor, and then staring at your pack of tiles, thinking how am I ever going to do this by myself? Right? If you’ve never even thought about tiling before, it may appear like a daunting task, and truth be told, it is quite tricky. But if you’re an accomplished DIYer or you just love a challenge, this guide will take you through the steps so you can give it a good go.
How many tiles do I need?
Simply measure length of the space you’re tiling and divide it by the length of your chosen tile. Then, measure the width of your space and divide it by the width of your tile. Round these numbers up, and then multiply them. Give yourself some wiggle room in case any tiles get broken, and think about adding 10% more to your order. If calculations aren’t your thing, you can always ask our team of experts.
What to prepare
You can tile on concrete, floorboards, and even on top of tiles. You’ll just need to make sure that the surface is flat, dry, and free from any mould. If you’re going to tile on top of floorboards, it’s also a good idea to screw down some plywood, of 12mm thickness minimum, to ensure structural integrity.
Choose your adhesive
Different areas call for different adhesives. If you’re tiling on an area which may move a little, a flexible adhesive is required to prevent cracking. If you’re tiling on somewhere that’s likely to get wet, you’ll need to use a waterproof adhesive.
Planning is key
- Measure the width of your room to find the centre, then start from there and place dry tiles down from the centre of the room to one side. We recommend using spacers between tiles to ensure placement is consistent.
- If, when you get to the side of the room, there is under one tile’s width of space between the last tile and the wall, reposition all tiles and spacers away from the wall by half a tile’s width. You’ll be left with over half a tile’s width worth of space from your last full tile to the wall.
- Now mark the position of the last full tile on the floor, and measure from this position to where you started, in the centre. Keep a note of that measurement, and mark this length further up your space, directly parallel to the first.
- From the two positions closest to the wall, drill a timber guide across. This will ensure tiles laid will be perfectly straight.
- Carry out steps 1 to 4 again but for the length of the room, to ensure you have a steady right angle timber guide to fit from.
How to lay tiles
- Using your tile adhesive trowel (we stock a variety of sizes) spread out your adhesive from where your two timber guides meet.
- Place the tile firmly into the adhesive.
- Use spacers to continue to lay your tiles to ensure consistent placement.
- As you go, it may be a good idea to check the flatness of your tiles with a spirit level.
- Using a sponge, like this Forte Hydro-Sponge, clean off any excess adhesive and allow to dry completely.
How to cut tiles
- When you remove the timber guides, you’ll be left with an unfilled parameter.
- Measure from the laid tile, to the wall, and mark this measurement on a tile.
- Depending on the thickness and material of your tile, there are a few different ways you can cut them. Such as using a tile nipper, or an angle grinder (we recommend using a blade like the TIGR Turbo Extreme Diamond Blade).
How to grout tiles
- Use a grout float to work your grout in between your tiles.
- As before, use a sponge to clean up any excess. If you’re planning on tiling a large area, or a few rooms in the house, this Forte Washboy Bucket Set includes everything you’ll need to make clean up as easy as possible.
And there you have it! You’ll now be able to start tiling your room, confidently. If you’re still having doubts about it, don’t worry, there’s always a professional who’ll get the job done for you.
