A Guide to Painted Baths – All You Need To Know

“Mere colour can speak to the soul in a thousand different ways.” – Oscar Wilde
To elaborate on Oscar Wilde’s above quote, different colours, alliterations, and variations have the ability to speak to us in different ways. When we think of the bath being the centre piece of our bathroom, it’s not something we often think about having the ability to change or customise. That big outdated bath that sits in the corner or centre of the room is just something we’re stuck with as is, unless we’re willing to splash out a fortune for an extensive remodelling project.
Well, not necessarily. Painting your bath is a fantastic way to freshen up and give your bathroom that personal feel. That personal touch gives you the ability to feel like your bathroom is exclusive to you; a 1 of 1, a completely natural custom built relaxation area customised to your own personal taste. Sounds good right? Well further to the benefits of your own unique aesthetics, it can also become a fun little DIY project if you’re the creative type, but can also be cost efficient as you won’t need to strip out and replace fixtures and fittings.
Baths You Can Paint
So, just to be clear; you cannot paint any type of bath. Acrylic and Cast Iron are the two bath types that are capable of being painted effectively, presuming the right techniques and equipment is used. With proper care and maintenance, a quality bathtub refinish can last 10 to 15 years. This is an ideal option if you are looking to preserve an older design that adds character but has perhaps seen better days. If you’re unsure what type of bath you have, get in touch with us, and we’ll be happy to advise. For all other steps, please consult a professional for tips and equipment.
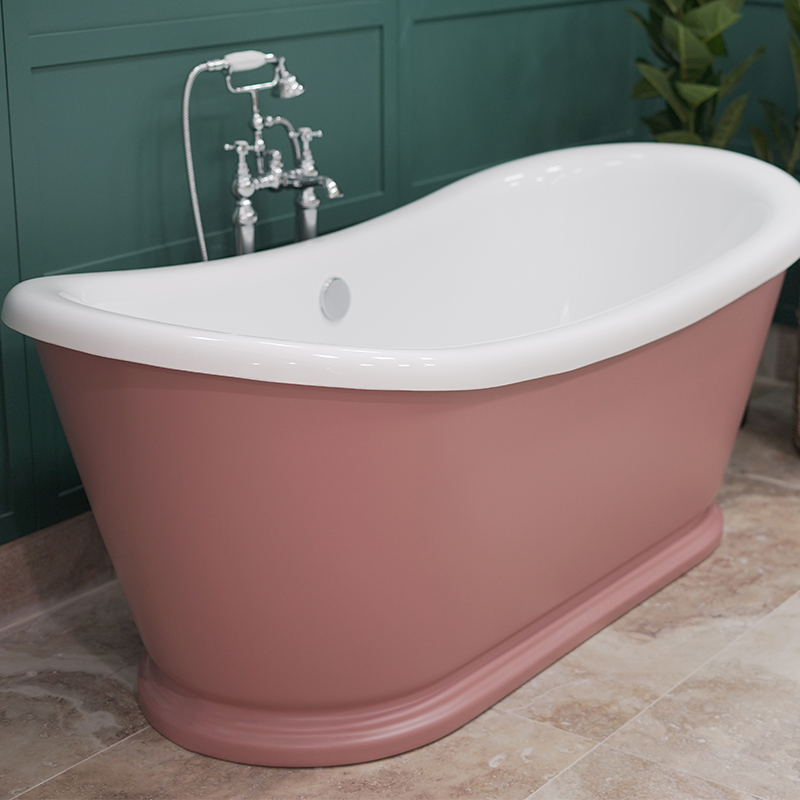
What Paint Should I Use?
The type of paint used on your bath is crucial to the result (and longevity) of the finished product. We want to avoid latex and water based paints as they’re not designed to withstand extensive periods of water immersion, and will need redone again before you know it. For acrylic baths, one or two part epoxy paints are the best option whereas cast iron baths need an oil based paint, as it needs to be durable enough to withstand metal and wood. Use this in conjunction with an oil-based primer for the best results.
What You Will Need
- Acrylic Polymer Paint
- Primer
- Brush, roller, or spray gun
- Rough sandpaper
- Super-fine sandpaper
- Facemask
- Gloves
- Masking tape
- Newspapers or old sheets to protect the floor
We’ll now look at the steps required to paint your bathtub. Please use this information as a generic outline only and consult a professional if you are in any doubt. Remember, Safety Comes First! Keep the room well ventilated and wear a face mask as bath paint is much stronger than your run of the mill emulsion so it’s best to exercise caution here.
Step 1
Start by taping down protective covering with masking tape in all areas which you don’t need covered in paint. It also helps to tape down the smaller somewhat tricky areas for now until the bulk of the job is done. This may sound like an obvious step, but it’s particularly important if you’ve chosen a spray gun as your ‘weapon’ of choice. Spray guns typically do the most comprehensive job but it’s generally considered much more messier than a brush or roller so be careful! Once complete, clean the bathtub thoroughly to keep the sanding process to a minimum.
Step 2
Enter Sandman, or Sandwoman! Begin by sanding the exterior of the bath until the surface is rough to the touch. This step is a bit of a slog, but absolutely necessary as the rough surface will be your primary source of adhesion and doing this job properly will result in a far more durable and less DIY-looking finish.
Step 3
It’s now time to incorporate the primer. Using a brush or roller, evenly disperse the primer onto the sandpapered exterior. Give it 2-3 layers, whilst giving a light sanding after each layer. Once this process is complete, the bathtub is ready to be painted.
Step 4
The bathtub will need three layers. Repeat step three’s process (only using paint this time instead of primer) by alternating sets of paint, then sanding. Leave adequate time in between layers to dry and air out.
Once the paint has dried, we recommend sealing it with an aerosol sealer but it’s best to check with your manufacturer on which sealants can be used on your acrylic bathtub. As hard as it may be, we need you to resist using your shiny new bathtub for 3-5 days until the paint has dried and sealed properly. After this time, it’s ready to enjoy!
Buying An Already Painted Bath
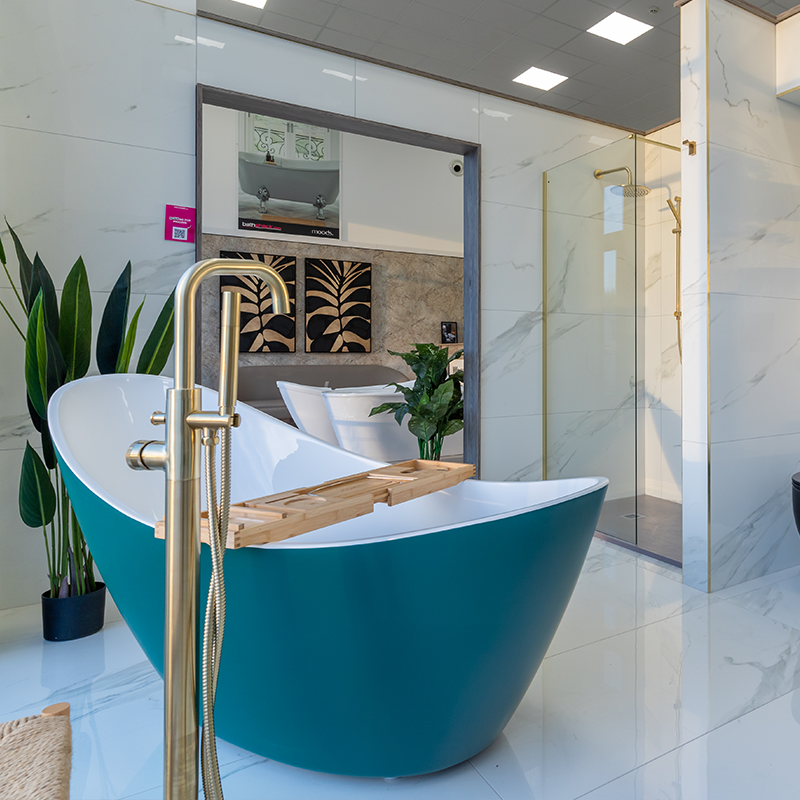
Not one for a DIY project? Too much stress to paint your own bath? We hear you, it’s not for everyone and that’s ok. It would be kind of ironic that you find yourself fussing and stressing over a bathroom paint job – the one place where you should find that calming sense of relaxation and tranquillity. If you’re happy to pay a little more and have a brand-new coloured bath hand crafted to suit your taste, we’ve got you covered. These baths below are a range of acrylic and cast iron, but they can all be customised to suit your colour desired specifications. Get in touch with us today and we can advise options, price, and availability, or answer any other questions that you may have. We’re here to help!
We hope you’ve enjoyed reading through this painted bathroom tutorial! Remember to consult a professional if in any doubt, this step-by-step guide should only be used as a rough outline. If you need any assistance on bathtub types, styles, or colours, please get in touch and we’d be happy to help and make your bathroom dreams a reality!
